A backpack can have the right capacity and still be the wrong size. That distinction is easy to miss when the product name ends in a number and the retailer also asks you to choose S/M or L/XL. One label describes packing volume; the other describes a fit option. I would resolve both separately before buying an Osprey backpack.
My starting point is the body measurement and the actual contents, not height or a universal rule about how many liters a trip requires. The correct choice needs enough packing space, a suitable carrying arrangement and a harness that fits the wearer. An impressive specification does not compensate for a poor match between those three requirements.
This guide uses Osprey's official sizing guidance, linked product specifications and REI's fit instructions, checked October 12, 2026. It is a research-based buying guide, not a personal fitting diagnosis or evidence that we tested these packs. Our eight-pack Osprey comparison explains the model choices once the fit and capacity requirements are clearer.
As an Amazon Associate I earn from qualifying purchases. Buttons open model searches; check the exact generation and size.
Backpack capacity and torso size are different
Capacity is the listed packing volume, normally expressed in liters. Torso sizing concerns the relationship between the wearer and the harness. I would not use either as a substitute for the other. A bag can be spacious enough but fail to fit; a correctly adjusted harness can belong to a bag too small for the equipment.
The distinction becomes visible within the same product family. Osprey lists the checked Atmos AG 65 S/M at 65 liters and L/XL at 68 liters. For the Exos 58, the checked S/M and L/XL capacities are 58 and 61 liters. Those figures are examples from the Atmos and Exos product pages, not a general rule for every Osprey pack.
I would choose the appropriate fit first, then use that version's capacity and weight in the comparison. Buying the smaller harness solely because it has a lower listed weight puts the specification ahead of the wearer. Equally, buying a larger harness just to obtain extra volume can create a fit problem where a different model would have been the more sensible solution.
Compare representative fit categories
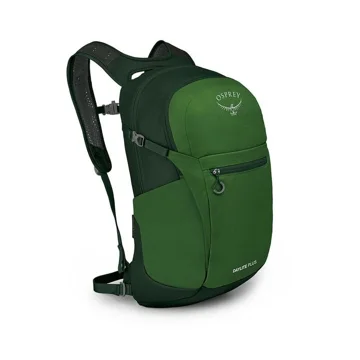
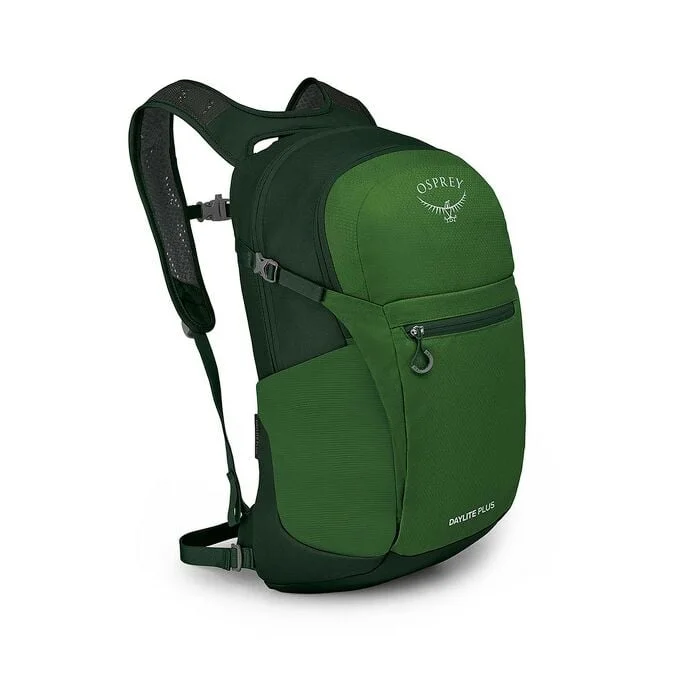
Daylite Plus for a small everyday kit
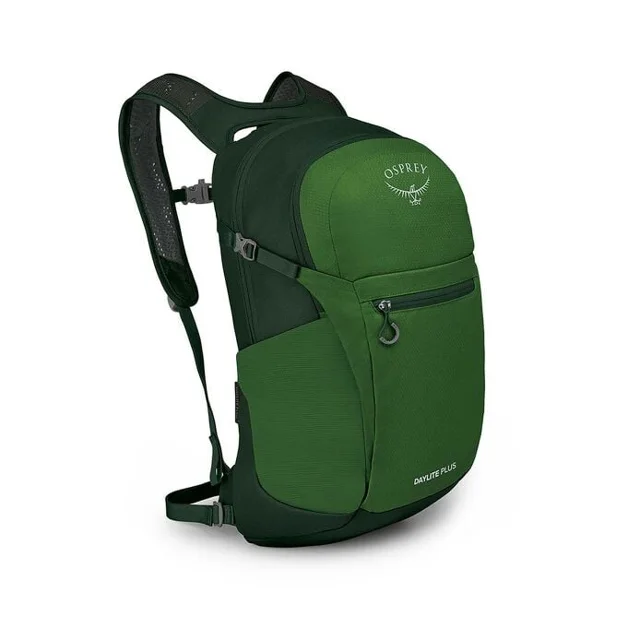
EVERYDAY VERSATILITY
- Capacity checked
- 20 L
- Published weight
- 1.29 lb
- Carrying design
- Webbing hipbelt
Reason to shortlist
Versatile organization
Tradeoff to consider
Simple hipbelt support
The Daylite Plus represents the everyday end of the comparison, with a checked 20-liter capacity. I would use it as a reminder that a small pack still needs a personal fit and contents check. A one-size designation does not establish that every wearer and every equipment arrangement will find it suitable. The manufacturer page should be compared with the exact listing.
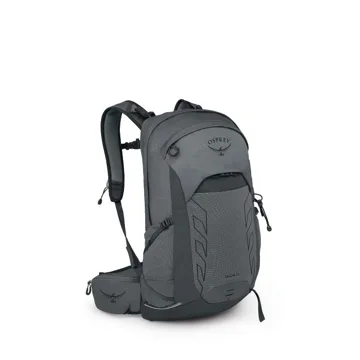
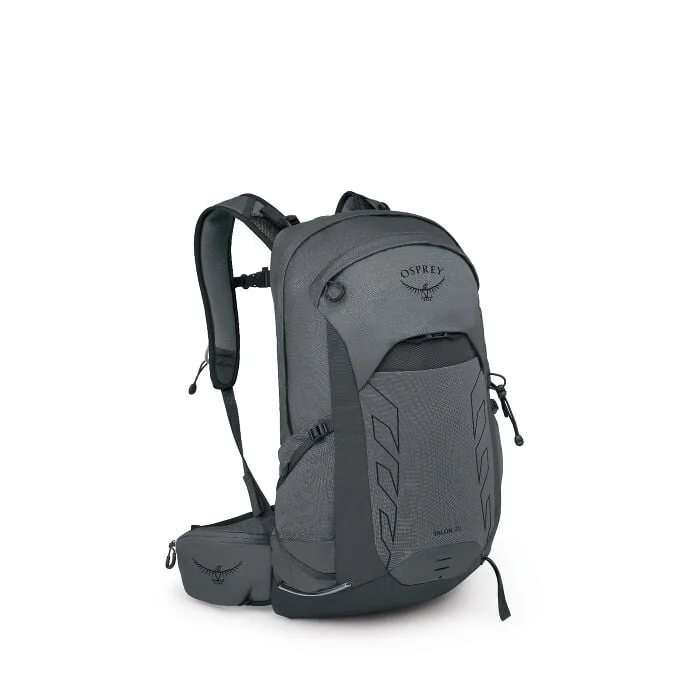
Talon 22 for trail-focused day use
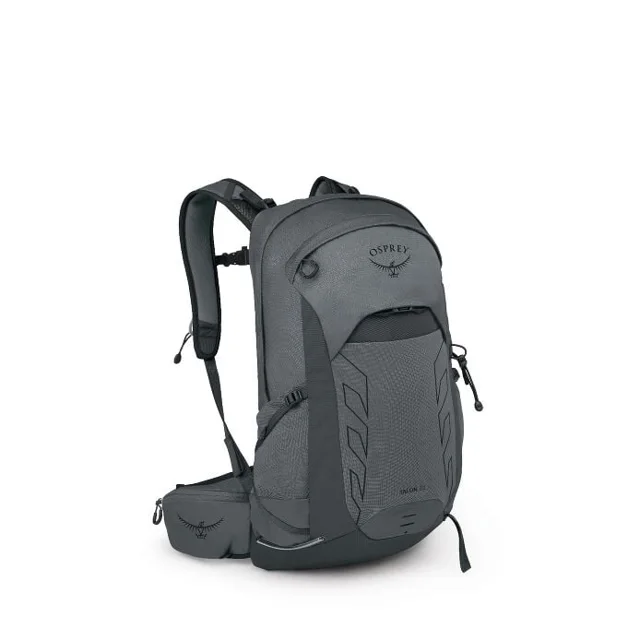
ACTIVE DAY HIKES
- Capacity checked
- 22 L
- Published weight
- 2.38 lb
- Carrying design
- AirScape
Reason to shortlist
Trail-focused harness and pockets
Tradeoff to consider
Heavier than simpler daypacks
The Talon 22 puts the carrying system more prominently into the day-hiking decision. The checked Talon page identifies an adjustable harness and close-fitting AirScape arrangement. I would examine how that arrangement fits the intended wearer before concluding that the model's nominal capacity makes it the right daypack.
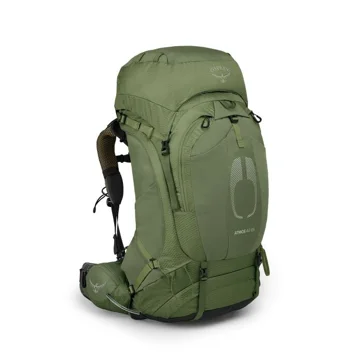
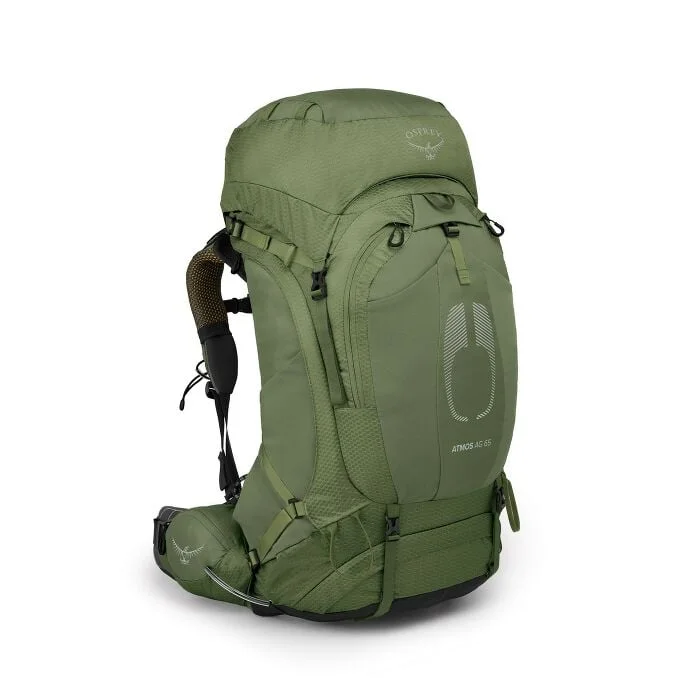
Atmos AG 65 for backpacking fit
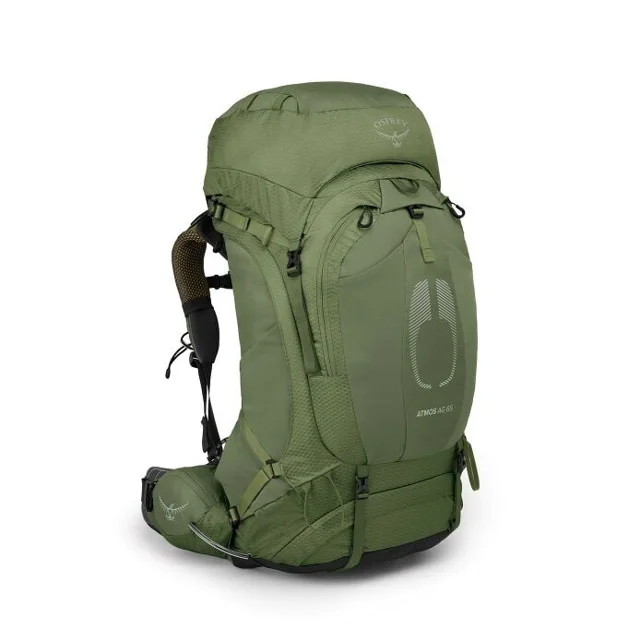
ORGANIZED MULTI-DAY LOADS
- Capacity checked
- 65 L · S/M
- Published weight
- 4.613 lb
- Carrying design
- AntiGravity
Reason to shortlist
Side access and included raincover
Tradeoff to consider
Higher empty weight
The Atmos AG 65 illustrates why torso-size selection deserves its own attention on a larger pack. Use the manufacturer's current size chart for the specific model, then check the loaded result. Its listed capacities, accessories and suspension are useful comparison facts; they cannot select an appropriate harness for a person we have not measured.
Fit-category comparison
| Decision | Small everyday pack | Hiking daypack | Backpacking pack |
|---|---|---|---|
| Start with | Ordinary contents | Complete day-hike kit | Shelter, sleep equipment and consumables |
| Capacity question | Does the largest normal load fit? | Is there room for changing layers? | Does the full equipment system fit? |
| Fit question | Are straps and movement suitable? | Does the loaded carrying arrangement fit? | Do torso adjustment and hipbelt work together? |
| Avoid | Choosing by appearance alone | Equating liters with load support | Selecting a harness size for extra volume |
This table organizes the buying process. It does not assign numerical comfort scores or specify a universal capacity for each type of trip.
How to measure before choosing an Osprey size
Use a helper and a flexible measuring tape. The torso measurement runs from the prominent C7 bump at the base of the neck to the level of the top of the hip bones, following the instructions in the fit reference. Compare that measurement with the current chart for the exact pack. Hipbelt measurement is another check; trouser size is not an equivalent measurement.
I would repeat an uncertain measurement rather than turn it immediately into a purchase. A small measurement error matters most when it changes which size appears suitable. Record the method and result so a shop fitter can help reconcile it with the loaded pack.
If two sizes appear plausible, keep both in the fitting comparison. I would not resolve that uncertainty by choosing whichever has the preferred color or smaller empty weight. The point of measuring is to narrow the candidates, not eliminate the need to evaluate the actual fit. A published range is a useful starting point; it is not evidence that the adjustment has been made correctly.
Buying guide
Define the job before choosing liters
Start with a short description of the intended use. Daily carry, a day hike, backpacking and travel are different equipment problems. A pack that handles one well may include features irrelevant to another. I would name the main job first and treat occasional secondary uses as a separate question.
Lay out the contents for the most demanding ordinary version of that job. Include the water and food actually planned, not only the equipment that looks compact in a product photo. Keep the optional items in another group so it is clear which ones are driving the capacity requirement.
Our day-hike checklist and camping checklist can organize the initial list. Do not transfer every car-camping comfort into a carried kit. The objective is an equipment plan appropriate to the outing, followed by a backpack that can carry it.
Match the current product size chart
The safest sizing reference is the chart linked from the current manufacturer's page for the exact pack. A generic Osprey chart found in an older review can describe another generation or model. I would keep that distinction explicit when a retailer's size label looks familiar.
Write down the model and fit variant alongside the torso measurement. Check whether the product is a men's fit, women's fit, unisex design or another listed option. The label is an invitation to evaluate the harness shape, not a substitute for the evaluation.
There is no useful universal instruction to buy S/M at one height and L/XL at another. That shortcut ignores torso proportions and model differences. If the retailer does not provide enough information to identify the size correctly, resolve it before purchase. A vague listing should not become the foundation of a precise buying recommendation.
Evaluate a realistic loaded fit
An empty fitting cannot show how the intended contents affect the pack. I would compare candidates with a representative load and follow the model's adjustment instructions. The aim is to discover whether the setup works for the body and the equipment together, not merely whether the straps reach.
Check the belt and shoulder contact, then assess movement and access. If the setup feels wrong, reconsider adjustment and size before deciding that a more expensive model is necessary. A fitting specialist can help distinguish an adjustment issue from a mismatch the available adjustments cannot resolve.
Record what was changed during the fitting. That makes the evaluation repeatable when comparing another candidate and avoids treating the last pack tried as automatically the best. I would also note whether a satisfactory result depended on using the very end of an adjustment range; that is a useful point to discuss before buying.
Separate hipbelt fit from extra tightness
The hipbelt should be considered as part of the carrying system, not an accessory to tighten until every problem disappears. If the chosen size cannot be positioned and adjusted appropriately, pulling harder may conceal the wrong issue. I would seek help with the setup rather than assume discomfort is the normal price of carrying a backpack.
A webbing belt on a small everyday pack and a structured backpacking hipbelt should also be evaluated in their own categories. The presence of a buckle does not make the two designs equivalent. The Daylite comparison and the Atmos comparison address different jobs for that reason.
For a household bag shared by more than one person, check the fit for each intended wearer. An adjustable harness may help, but the idea of sharing does not establish that the adjustment range covers everyone. Decide who is actually expected to carry the bag before treating flexibility as a solved requirement.
Check the complete load and dimensions
Capacity, empty weight and intended load are three separate entries on the worksheet. Keep them separate. I would include items attached outside when recording the carried load, because straps do not remove their weight from the system.
The same discipline applies to travel dimensions. A 40-liter description is not an airline acceptance rule. Check the dimensions of the actual version and the airline requirements for the booked fare. The contents can also affect the packed shape of a soft bag.
When choosing between small daily packs, use our Daylite versus Daylite Plus comparison. When evaluating a larger backpacking setup, use the Atmos versus Exos comparison. Those pages keep the capacity discussion attached to specific verified versions instead of treating every Osprey model as interchangeable.
Decide what can be checked before purchase
Some decisions can be resolved from a specification sheet; others require the actual item. I can compare published capacities and weights here. I cannot establish your personal comfort, reach or strap contact from those figures. Keep that boundary useful rather than frustrating by turning it into a clear buying checklist.
Before purchase, verify the model generation, the size chart, included accessories and return conditions. During a permitted fitting, evaluate the intended load and the adjustment. After the comparison, record why the selected pack matches the job and which tradeoff you are accepting.
The free backpack buying and fit worksheet brings those checks together without product links. It does not issue a size recommendation. Its purpose is to prevent a decision based on one attractive specification from overruling the requirements established earlier.
Three sizing situations worth resolving early
You sit between the listed ranges
I would keep both viable sizes in the comparison and repeat the measurement if necessary. Ask a fitter to help evaluate the actual setup rather than choosing from a comment posted by someone of similar height. Similar height does not establish similar torso proportions, contents or harness preference.
The bag fits but the contents do not
That is a capacity or packing question, not automatically a torso-sizing problem. Review the equipment list and consider another capacity in an appropriate fit. Do not enlarge the harness simply to chase more packing space.
The bag is spacious but the fit is poor
Keep the useful capacity requirement and reconsider the model or fit option. I would not accept an unsuitable harness because the equipment fits neatly. The pack exists to carry that equipment with the wearer, not merely to contain it on the floor.
Frequently asked questions
Can I choose an Osprey backpack by height?
I would not use height alone. Torso measurement, the exact model chart and a loaded fitting provide a better process. People with similar height can require different fit adjustments.
Does 65 liters mean the same thing as a large torso size?
No. Liters describe listed packing volume; torso labels describe fit options. Some models change capacity between fit sizes, but those remain separate buying decisions.
Is one size suitable for everyone?
A one-size product label does not establish universal personal fit. Evaluate its adjustment and carrying arrangement with the actual contents. If it does not suit the intended wearer, compare another design.
Should I buy the largest backpack for preparedness?
I would start with the equipment and the person expected to carry it. A larger bag can encourage unnecessary contents. Our bug-out bag checklist helps organize a portable kit, but the finished load and fit still need to be checked.
What is the most useful next step?
Measure, record the exact model, assemble the contents and arrange a loaded fitting where possible. Then return to the Osprey pillar comparison to compare the options that remain suitable. That order makes the product shortlist more meaningful.