OUTDOOR / FIELD GUIDE
Day Hike Checklist for Beginners: What to Pack and Check
Plan your route, pack essential systems and leave a clear trip plan.
Part of our beginner preparedness guide. Choose a starting task or continue with this topic.
By Ready & Resourceful · Published 7 October 2026 · Research-based guide; no product testing claimed.
Quick answer
Choose a route that fits your group, check current local conditions, leave a trip plan with a trusted contact, and pack equipment adapted to the Ten Essentials. A packing list supports preparation; it cannot make an unsuitable route safe.
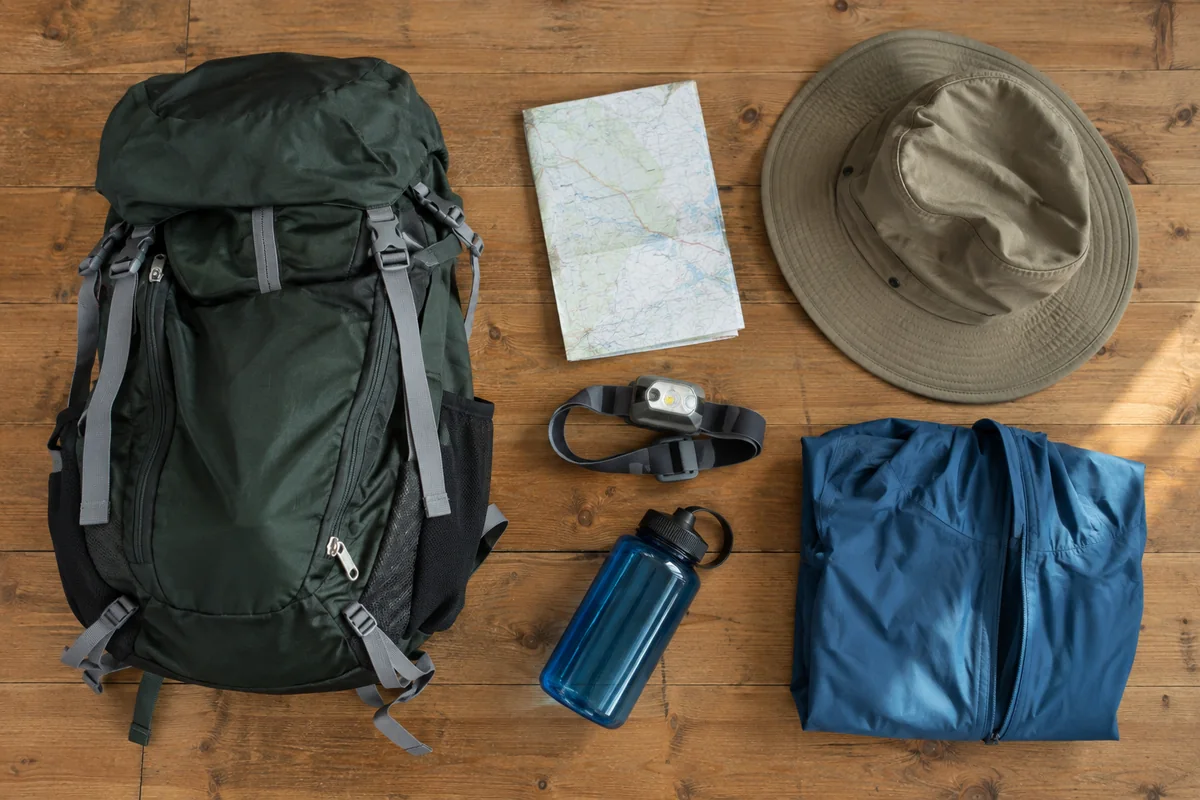
For your first day hike, choosing what to carry is only half the preparation. You also need to know where you are going, what the route asks of your group, and who knows when to expect you home. Use this checklist to turn a general list of hiking essentials into actual items and decisions for your trip.
Before packing
Use the land manager’s current information to check access, closures, weather and relevant rules. Choose a route that suits the least experienced member of your group. Agree on a point or time for turning back and allow for getting home. Tell a trusted person where you are going and when you expect to return.
Use the Ten Essentials as systems
The National Park Service groups essential supplies into navigation, sun protection, extra clothing, lighting, first aid, fire, repair tools, nutrition, hydration and emergency shelter. Adapt the equipment within those systems to your route, activity and conditions. [NPS guidance]
For navigation, learn to use your map and tools before relying on them outdoors. Bring a physical map backup. A charged phone is useful, but power and reception should not be assumed. A headlamp frees your hands; carry its appropriate spare power supply. Include personal medications in a suitable first-aid kit.
Make the list work for your trip
Create three columns on paper: packed, needs checking, and not suitable for this trip. For each essential system, name the actual item rather than writing only the category. “Navigation” is vague; the title of your route map and the device carrying the offline copy are specific.
Use a second pass to check condition. Test lights, inspect containers and make sure the rain layer fits over what you expect to wear. Do not discover a broken fastening or missing cable at the trailhead. Follow manufacturers’ instructions for equipment operation.
Keep the trip plan separate
Give your trusted contact the route, starting point, expected return and what to do if you do not check in. Update the contact if plans change. Avoid publishing sensitive personal trip details in a public comment or on this site.
At the trailhead
Recheck local conditions and decide whether the plan is still appropriate. Carry your preparations even if the start looks easy. Return or choose another activity if the conditions exceed your skill or equipment. Local fire rules govern the use of any fire supplies.
After returning
Check in with your contact, note anything that did not work and replenish consumables. Separate used equipment from clean, ready-to-pack items. Review the list before the next trip instead of assuming the bag is still complete.
Turn a general packing list into a trip-specific plan
| Planning task | Your entry | Check before leaving |
|---|---|---|
| Route | Named trail and starting point | Land-manager access and conditions |
| Conditions | Forecast and relevant local rules | Recheck on the day |
| Contact | Trusted person and expected check-in | Confirm they received your plan |
| Equipment | Actual items for each essential system | Check fit, condition and operation |
Suggested planning format. Examples describe a proposed arrangement, not a completed or tested project.
Planning example: instead of writing only “navigation,” name the physical route map and the device holding its offline copy. Instead of “light,” name the headlamp and its spare power supply. This is a record format, not a universal equipment prescription.
What to bring on a day hike: a packing starting point
The National Park Service organizes the Ten Essentials into systems. The examples below summarize that framework; choose actual items for your route and learn how to use them before departure. [NPS Ten Essentials]
| System | Starting examples |
|---|---|
| Navigation | Route map, compass or appropriate navigation device; physical backup. |
| Sun protection | Hat, sunglasses and sunscreen. |
| Extra clothing | Layers and weather protection for possible conditions. |
| Lighting | Headlamp or flashlight and appropriate spare power. |
| First aid | Trip-appropriate supplies and personal medications. |
| Fire | Appropriate emergency supplies; local fire rules apply. |
| Repair | Tools and materials relevant to the equipment carried. |
| Nutrition | Food for the outing and additional food for delays. |
| Hydration | Water and applicable treatment supplies. |
| Emergency shelter | A suitable emergency shelter option for the conditions. |
Do not mark a category complete just because you recognize its name. Write down the actual item, check it, and identify anything you do not yet know how to use. This list does not determine whether a route is suitable for you.
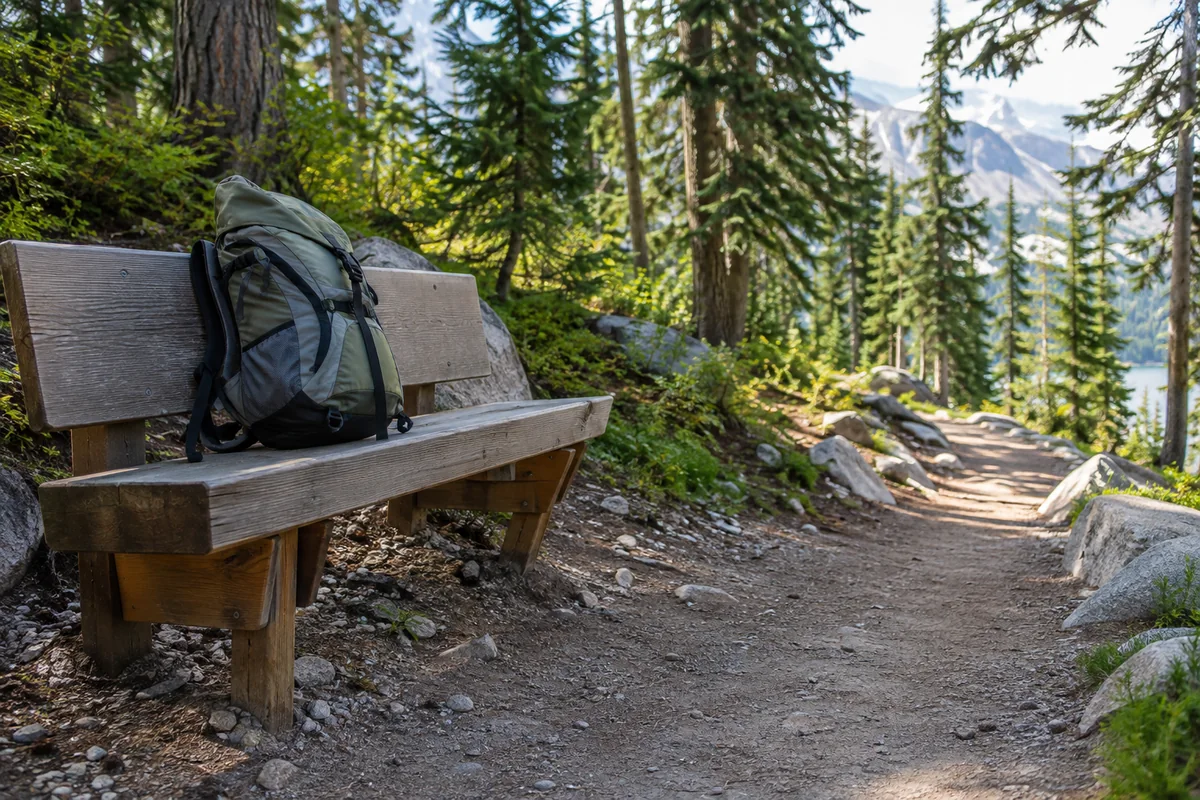
Make three decisions before you pack
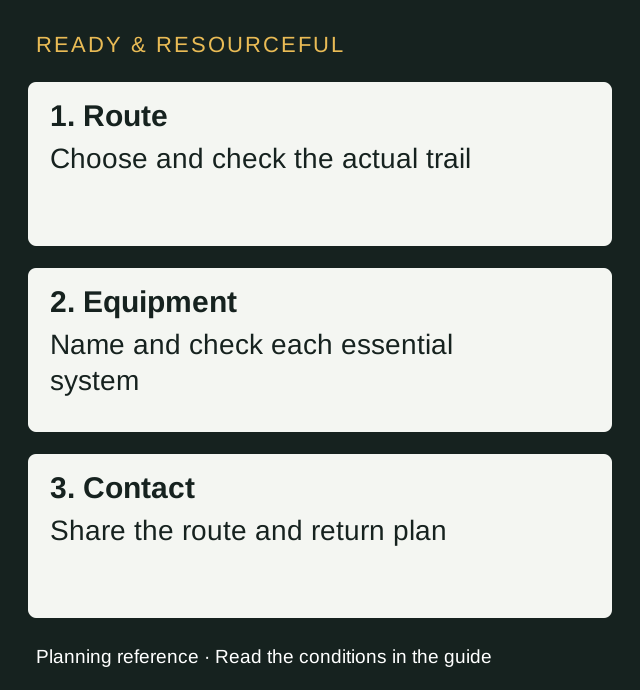
Route: name the trail, starting point and intended finish. Check the land manager’s current information. If you cannot describe the route to your trusted contact, resolve that uncertainty first.
Conditions: check the forecast and relevant local notices for the route, rather than relying only on the weather outside your home. Identify the clothing and equipment decisions that change with those conditions. Avoid applying a single water amount to every person, climate and outing.
Return plan: agree on the point or time for turning around and the expected check-in. Make sure the trusted contact received the plan. Keep identifying trip details in the private record you share with that person, not in a public inventory.
A first-hike packing rehearsal
Lay out the actual items and use three headings: packed, needs checking, and missing. Test your light, verify that the route information is available in the intended form, and check equipment fit and operation. Work through the list once more after resolving the missing items.
A hypothetical gap might be a headlamp that works but has no compatible spare power, or an offline map that has not been downloaded. Those are specific tasks you can resolve before departure. A bag full of unfamiliar equipment does not resolve them.
If the checks reveal that conditions exceed your experience or equipment, choose another activity or seek appropriate guidance. After the trip, check in, record what needs replenishing, and use the gear organization system to keep items needing attention out of the ready group.
Common planning mistakes
- Treating a short planned duration as a reason to skip preparation.
- Leaving a vague trip plan that omits the route or return expectation.
- Packing unfamiliar equipment without learning its operation.
Your action checklist
- Choose a route suitable for the group.
- Check current land-manager conditions and weather.
- Agree on a turnaround plan.
- Give a trusted contact the route and expected return.
- Name and check the actual equipment in each essential system.
- Read applicable local fire rules.
- Check in with your contact after returning.
- Replenish used supplies.
Download the plain-text checklist
The download includes the guide link and references. Keep a local or paper copy if you may be without internet access.
Questions about this guide
Is the Ten Essentials list a guarantee of safety?
No. It is a preparation framework. Route selection, conditions, skills, local rules and the actual equipment still matter.
What should I do if plans change before departure?
Reassess whether the revised trip matches your skills and equipment, and update the trusted person holding your trip plan. Use current land-manager guidance for local conditions.