Quick answer
The difference between a backpacking water filter and a purifier is the protection the specific device provides against microorganisms. Many hiking microfilters address bacteria and protozoa but do not remove viruses; a purifier is designed to address viruses as well. Check the exact product’s verified claims and instructions. Neither label means the device makes every contaminated water source safe, especially where chemicals, fuel, or other nonmicrobial hazards are involved.
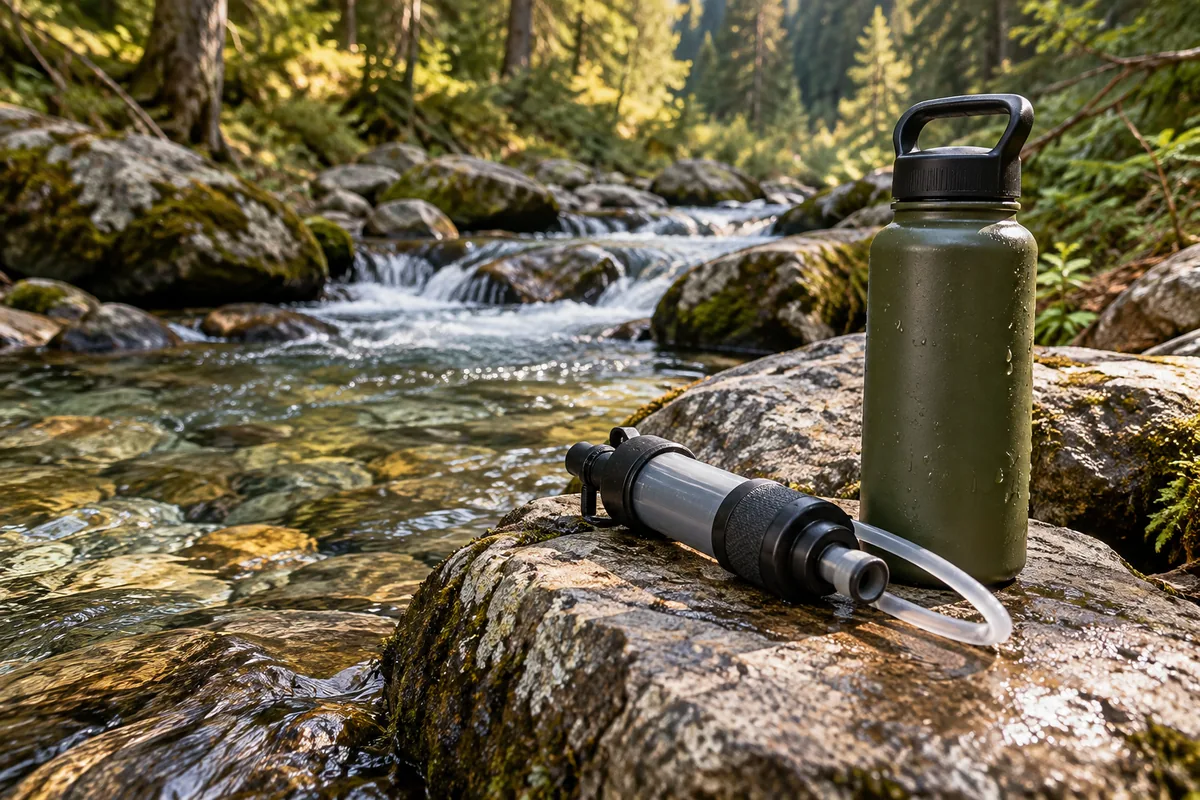
A stream can look inviting while its risks remain invisible. The useful question is not simply which gadget has the smallest pack size. It is what water you expect to collect, which hazards you need to address, how the system works in those conditions, and what you will do if it fails. This guide helps you compare treatment systems without presenting untested products as recommendations.
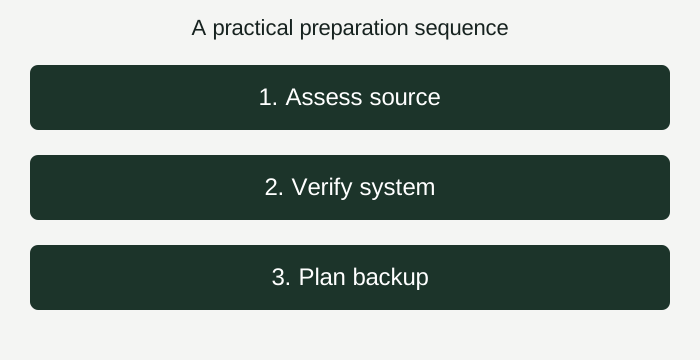
Begin with the source, not the device
Identify the water sources on your route before you leave. Check current park or land-manager information about availability and advisories. A blue line on a map does not establish that water is flowing, accessible, or suitable for collection.
Consider your alternatives. Starting with safe drinking water or arranging a confirmed refill may reduce reliance on unfamiliar treatment equipment. For a short outing, carrying an appropriate supply can be simpler than building the entire plan around one uncertain stream.
If an official advisory says not to drink the water, follow it. Do not reinterpret the warning based on the device you own. Flood-affected water, industrial runoff, and water suspected of fuel contamination are not ordinary backpacking treatment questions.
Write down the backup plan. It might involve carrying more water, choosing a different route, reaching a confirmed safe refill, or turning back. A filter is equipment within a water plan, not the whole plan.
What “filter” and “purifier” actually tell you
A microfilter generally works by physically separating certain contaminants from water. A purifier can use different technologies to address a broader range of microorganisms. The details depend on the specific product; the marketing category alone is not enough.
MSR’s filter-versus-purifier explanation describes the distinction in microorganism protection. Use that overview to understand categories, then verify any device against its own technical documentation. Manufacturer claims for one model do not transfer automatically to another.
Look for clear statements about bacteria, protozoa, and viruses rather than phrases such as “clean water” or “survival ready.” Ask what testing supports the claim and what conditions or limitations apply. If the answer cannot be found in credible product documentation, do not invent it from appearance or price.
Some products also include materials intended to affect taste or particular chemicals. That does not establish comprehensive protection against every chemical hazard. Read the precise contaminant claims and relevant advisories separately.
A comparison you can use while shopping
A backpacking microfilter
Check which microorganisms it addresses, the collection method, required containers, cleaning procedure, and storage limits. Decide whether its stated protection matches your actual source assessment. Do not assume every filter also provides virus protection.
A purifier or combined treatment system
Check the full treatment procedure and all required components. Some systems depend on batteries, replacement cartridges, or multiple stages. Compare the complete working setup, not just the headline device weight.
A chemical disinfectant
Read the label for organisms addressed, dose, contact time, temperature conditions, and personal-use restrictions. Instructions differ between products. A tablet is not instantly effective merely because it has dissolved or the water appears clear.
A UV device
Check water-clarity requirements, power needs, volume limits, and the exact operating procedure. Treat an interrupted cycle or depleted battery as a system problem to resolve through the instructions, not a reason to shorten treatment.
Boiling
The CDC backcountry treatment reference identifies boiling as the most reliable way to kill germs. It specifies a rolling boil for one minute, or three minutes above 6,500 feet. Boiling requires suitable equipment and does not resolve every nonmicrobial contamination problem.
Turn claims into a short decision record
Before buying, make a one-page comparison with five fields: intended water sources, organisms addressed, operating steps, failure points, and backup arrangement. Add a reference to the manufacturer’s current instructions beside each device.
This makes vague differences visible. One system may require a compatible collection bag; another may need spare batteries or a replacement cartridge. The smallest individual component may not be the simplest complete setup.
Record uncertainties honestly. “Virus protection not stated” is more useful than guessing yes because a product is sold as a purifier. “Cold-weather use needs clarification” is a reason to contact the maker, not to copy another person’s technique.
Do not turn the comparison into a score that hides the underlying facts. A system can be light and convenient while being unsuitable for your intended conditions. Suitability comes before cosmetic ranking.
Squeeze, gravity, pump, and bottle formats
The physical format changes how treatment fits into a trip. A squeeze setup may make sense for a person filling individual bottles. A gravity arrangement may suit a group preparing water at a stop. A pump introduces different handling and maintenance tasks. A bottle-integrated device can simplify some steps while imposing its own limitations.
Compare these formats through a realistic routine. Where will untreated water be collected? What holds the treated supply? How will the system be cleaned? Can another person operate it if the usual user is unavailable?
Read compatibility details rather than assuming standard threads, hoses, or bags will fit. A missing connector can make a perfectly functioning filter unusable. Keep the necessary pieces together in a labelled pouch.
Choose according to your own route and group. This article does not declare one format universally best or claim hands-on testing. Product-specific performance requires evidence about the exact model and conditions.
Keep untreated and treated water separate
Decide which container is used for collection and which receives treated drinking water. Make them easy to distinguish. Labels are helpful when containers look alike or several people share equipment.
Follow product instructions for the clean side of the system. Keep bottle mouths, caps, outlets, and drinking surfaces from contacting untreated water as instructed. Do not assume completing a treatment cycle removes contamination introduced afterward.
Lay out the process at home with safe tap water to learn the handling sequence. This practice checks familiarity and compatibility; it is not a test proving pathogen removal. Notice whether containers tip over, hoses pull loose, or the outlet touches the ground.
Keep the system’s instructions available offline. If you cannot remember the correct setup, reading the actual procedure is better than relying on a simplified social-media demonstration.
Cloudy water changes the task
Sediment can complicate treatment and may affect equipment performance. Read the device’s instructions for source selection, pre-treatment, and cleaning. A cloth or settling step can reduce visible material in some circumstances, but it is not a complete germ-removal method.
Do not use water clarity as your safety test. Clear water can still contain hazards, and cloudy water may require a different treatment procedure. Follow official local guidance and the specific system’s requirements.
If the chosen source is unsuitable, use the backup plan rather than forcing water through equipment outside its instructions. The best operational decision may be to change the route or stop relying on that source.
Keep the collection stage distinct from the treatment stage in your notes. That prevents a helpful preparation step from being mistaken for the entire process. “Settled” and “treated” are different labels.
Chemical treatment requires patience and exact instructions
Choose a product whose stated uses match the trip. Read its label before leaving, including contact time and any restrictions relevant to the people using it. Do not apply one product’s instructions to another active ingredient or formulation.
Keep the packaging or a reliable copy of the instructions. Loose tablets in an unlabelled bag remove information you may need. Check dates and packaging condition during your equipment review.
Mark the start and required completion time when preparing a batch if that helps you avoid confusion. For a group, assign responsibility clearly so nobody drinks from a container believed to be ready by somebody else.
Some travellers need individual medical advice about certain treatment products. Ask an appropriate professional where relevant. This guide does not prescribe a disinfectant or override label warnings. The CDC travel-water guidance provides another official reference for treatment considerations.
Freezing, cleaning, and storage are product questions
Check whether the system can be damaged by freezing and what the maker requires after exposure. Do not assume a filter is intact because the exterior looks normal. Different technologies and models have different limitations.
Include cleaning accessories if the instructions call for them. Know which parts belong to the cleaning procedure and which belong to ordinary treatment. Read the specified water and sanitation requirements rather than improvising a cleaning solution.
At home, follow the manufacturer’s drying and storage process. Leaving a used system sealed in its collection bag until the next trip is not a substitute for the required care. Store the instructions with the equipment so the procedure remains available.
When condition is uncertain, contact the maker or replace the relevant component as advised. Do not invent a home integrity test unless the manufacturer provides one for that model. Appearance and normal flow alone do not prove treatment performance.
Plan for failure before the trail
Identify what could stop the system working: missing parts, damage, depleted power, an exhausted cartridge, blocked flow, or unsuitable source conditions. Then choose a backup that addresses a plausible failure rather than simply duplicating the same dependency.
For example, a second electronic device using the same depleted battery arrangement may not solve the problem. A treatment backup needs suitable instructions and components of its own. Carrying safe water and having a shorter route can also be part of the backup.
Keep the contingency readable. Write where the confirmed refill is, how you would alter the route, and who has the backup supplies. Do not hide this decision in a long shopping list.
Practice recognizing when the equipment is not operating correctly according to its instructions. Do not continue using a suspect device simply because the group has walked farther than expected. Turnaround decisions belong in the plan from the start.
Match the system to the outing
For a short day hike, begin by assessing how much safe water you can reasonably carry and where confirmed refills are available. Do not add unnecessary complexity if the route does not require collection. See our day-hike checklist for the wider preparation.
For a longer backpacking route, water-source reliability, treatment capability, required volume, and maintenance become a coordinated system. Seek trip-specific information and appropriate skills rather than extrapolating from a short walk.
For a developed campground, check whether drinking water is supplied and whether advisories apply. Treating an unknown tap is not automatically the same problem as treating backcountry water. Our beginner camping checklist helps distinguish those logistics.
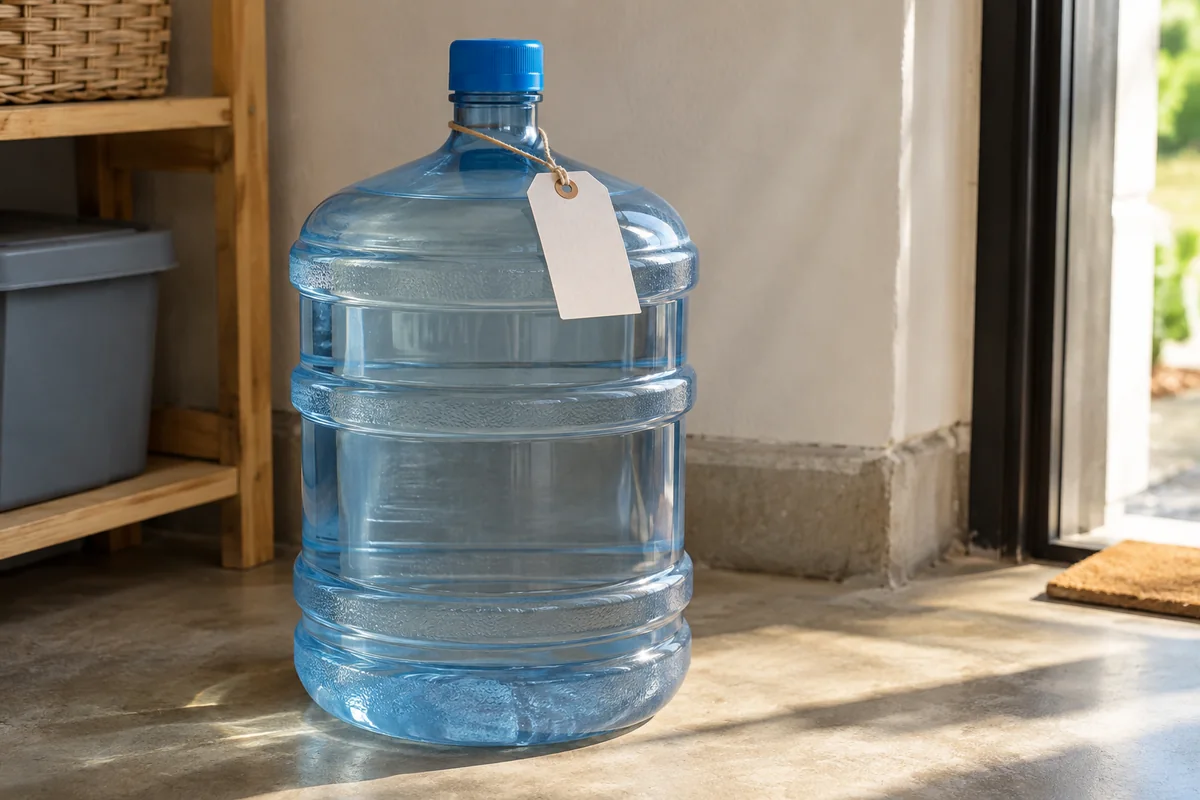
For an emergency at home, follow the water authority and official emergency instructions. A recreational filter is not a universal response to damaged infrastructure, floodwater, or chemical contamination. Our water storage guide covers a reserve that can reduce immediate reliance on uncertain sources.
A pre-trip equipment check
Gather the device, collection container, drinking container, connectors, cleaning equipment, instructions, and any required power source. Compare the items with the manufacturer’s complete packing requirements.
Inspect parts and dates. Confirm that caps and seals fit, cartridges are appropriate, and batteries or charging equipment meet the specified needs. Mark any unresolved question before the equipment goes into the pack.
Run the permitted familiarization procedure using safe water. Time the handling routine so you understand how it affects stops and group tasks. This is an operational rehearsal, not independent performance testing.
Check that another group member can locate the equipment and instructions. Shared water planning should not depend entirely on one person’s memory. Keep untreated and treated containers identified during the packing check as well as on the trail.
What not to infer from a product advertisement
Do not infer pathogen protection from a pore-size number without understanding the complete product claim. Do not infer chemical removal from improved taste. Do not infer suitability for emergency floodwater from the word “survival.”
A product photograph also cannot establish whether the system needs additional treatment, maintenance, or power. Look for documentation that describes the complete process. Ask the manufacturer when the required detail is missing.
Comparisons should disclose whether they are based on specifications or actual testing. This guide explains selection and planning; it does not offer invented laboratory results or personal field-test claims.
Keep purchases connected to a specific gap. If your plan lacks a confirmed water source, buying a more expensive device does not confirm one. If your system is suitable but you cannot assemble it, practice may be the necessary improvement.
Common questions
Does every water filter remove viruses?
No. Many backpacking microfilters do not provide virus protection. Read the exact device’s microorganism claims and instructions. If virus protection is required by your source assessment, choose a verified appropriate system or combination rather than assuming the filter covers it.
Can I use a camping filter on floodwater?
Do not assume that makes floodwater drinkable. Follow official emergency water guidance and avoid sources affected by hazardous chemicals or fuel. A device intended for backcountry microorganisms does not establish protection from all flood-related contaminants.
Is clear mountain water safe without treatment?
Appearance does not establish safety. Use current source information and an appropriate treatment or safe-water plan. Local land managers and public-health guidance matter more than how clean the water looks in a photograph.
What should I buy first?
First define the trip, source, hazards, and backup. Then compare documented systems that meet those needs. Keep a record of the exact model and its instructions so the choice remains understandable after the packaging has been discarded.
Keep a local checklist
Download the plain-text checklist and print or save the relevant official instructions before you need them. Review this guide for the conditions behind each item.
Download all 11 free planning checklists (ZIP). No sign-up required. Complete and print the sheets locally; read each guide for safety context.