
Quick answer
For a first car-camping trip, pack a suitable tent, complete sleeping setup, weather-appropriate clothing, lighting, drinking water, simple meals, necessary cooking equipment, hygiene supplies, first aid, and reservation details. Check the campground’s facilities and rules before deciding what to bring. Test the important equipment at home and keep the first evening’s essentials easy to reach.
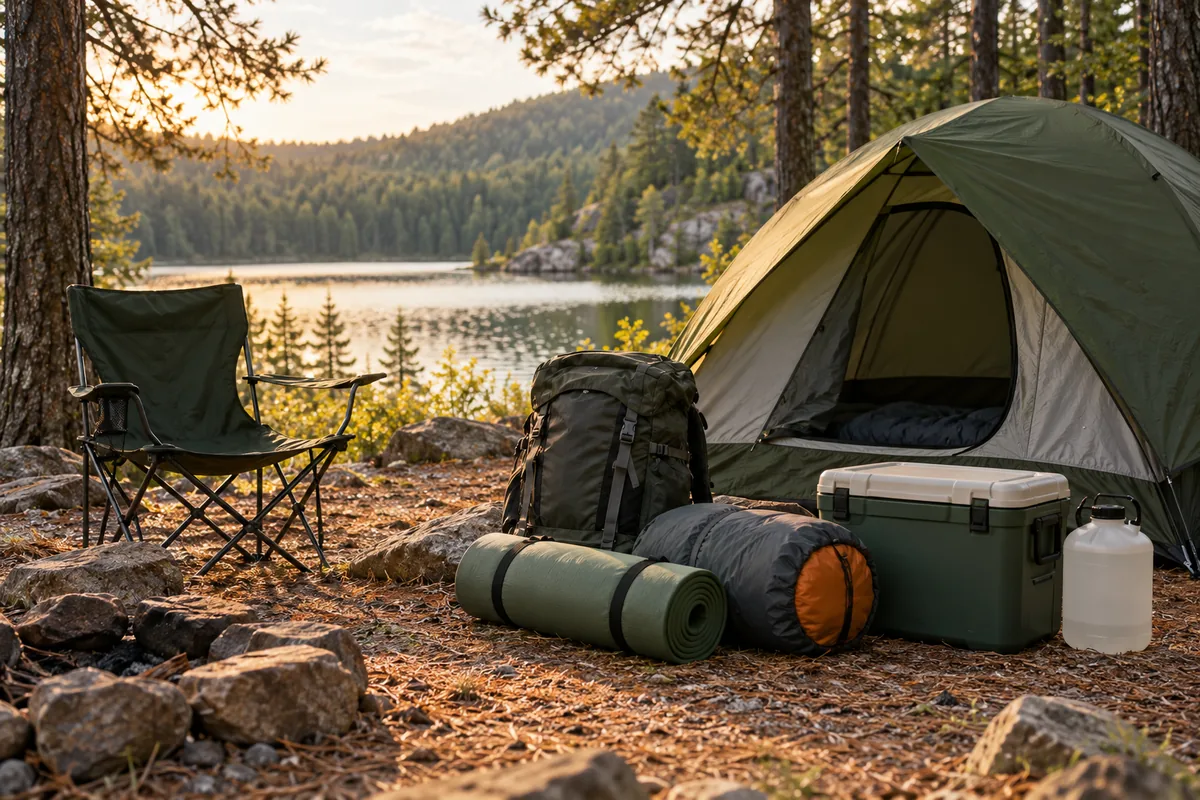
This checklist is for a developed campsite reached by vehicle, not a backpacking expedition or winter mountaineering trip. That distinction matters. You can carry more comfort equipment in a car, but you also need to avoid filling it with supplies that complicate the weekend. The goal is a campsite you can set up, use, and pack away without discovering that the tent poles are still in the closet.
Choose the trip before choosing the gear
Start with the campground. Confirm whether you need a reservation, how check-in works, and when you can arrive. Read current notices about water, toilets, access, weather, fires, and food storage. Save the confirmation and useful details offline.
Ask what the site actually provides. A picnic table is different from a sheltered cooking area. A water point on a map is not proof that it is currently operating. If a facility is important to your group, verify it with the operator rather than making an assumption from a photograph.
Keep a first trip manageable. Consider a destination within a comfortable journey and a short stay with straightforward activities. You can add distance and complexity after learning which equipment suits you.
The National Park Service pre-trip camping guide emphasizes planning around the group and checking park requirements. Use the relevant campground’s information as the final authority for that destination.
The basic camping packing list
Use these categories to check what is packed, not merely what you own. The REI camping checklist offers an additional equipment reference; the list below is a compact starting point for an ordinary first trip.
- Tent, rainfly, poles, stakes, and any required setup accessories.
- Sleeping bag or bedding appropriate to expected conditions, plus a sleeping pad or mattress.
- Clothing layers, rain protection, spare dry socks, and suitable footwear.
- Headlamp or flashlight for each person who needs independent lighting.
- Drinking water, bottles, and a refill plan based on confirmed facilities.
- Planned food, utensils, opener where needed, and suitable cold storage.
- Stove and compatible fuel if needed and permitted, used according to instructions.
- Hygiene supplies, necessary medicines, and a first-aid kit.
- Sun and insect protection appropriate to the destination.
- Trash bags and the equipment required by local food-storage rules.
- Reservation information, maps, contacts, identification, and payment method.
- Small repair supplies appropriate to your equipment and skills.
- Personal supplies for children, pets, or accessibility needs.
Optional comforts can include chairs, a small table if needed, and a familiar book or game. Add them after the basic systems are complete. You do not need to duplicate your entire living room beside a tent.
Shelter: check the complete tent system
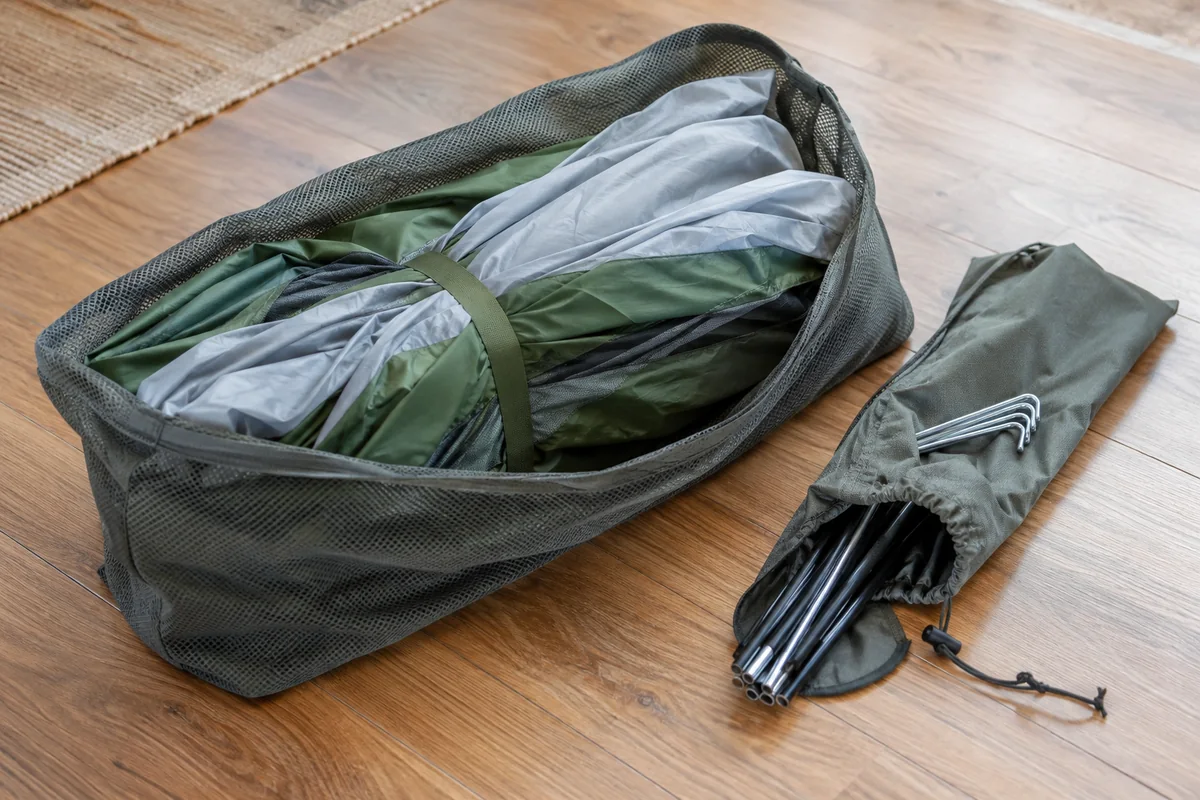
Unpack and pitch the tent at home before the trip. Identify the poles, rainfly, stakes, and any clips or straps. Read its setup instructions. A tent can look complete in its bag while being missing the part that keeps the fly secure.
Check the sleeping space with the people and bedding involved. Manufacturer capacity labels do not tell you whether your particular mattress, bags, and occupants will fit comfortably. Arrange the actual equipment rather than guessing from the number printed on the packaging.
Inspect condition and ask the maker about any damage or repair requirements. Do not assume that a new-looking fabric surface proves the whole tent is ready. Zippers, pole sections, attachment points, and the groundsheet all deserve attention.
At the campground, use the designated area and follow local rules. Avoid relying on a tent as shelter from every hazard; current weather and official instructions still matter. A first trip should have a clear alternative if conditions exceed the equipment or group’s ability.
Sleep is a separate system
List the sleeping bag or bedding and the pad separately. It is easy to pack one and forget the other. Choose equipment for the forecast and follow product guidance, including temperature ratings and limitations.
Inflate a mattress or pad at home and check the valve and required pump. Confirm that the pump has the right connection and power supply. Put repair instructions and the relevant patch kit with the sleeping equipment if appropriate.
Bring sleeping clothes that remain dry. Keep them in a separate pouch instead of using the same bag for wet outerwear. A small pillow or familiar substitute can be enough; bulky bedding may consume storage space you need for essential gear.
Think about each sleeper. A child, a person with limited mobility, and someone who cannot comfortably sleep on the ground may need different arrangements. Discuss those needs before booking rather than treating a standard gear list as universally suitable.
Clothing for a whole day outdoors
Plan clothing around the forecast, activities, and overnight conditions. Do not use the afternoon temperature alone to choose what you will wear after dark. Include a layer you can reach without emptying the car.
Pack a dry change and keep it separate from the clothes used for travel or activities. Label personal clothing bags so shared packing does not turn into a search for somebody else’s socks. For children, confirm fit before leaving.
Use footwear already known to be comfortable for the intended activity. A camping trip is an inconvenient place to discover that brand-new shoes are unsuitable. Keep the hike plan modest if your footwear or group experience is limited.
Include rain protection, but make a backup plan for persistent poor conditions. Waterproof clothing does not make every activity or weather situation appropriate. If the trip includes a walk away from camp, prepare a separate day-hike pack rather than assuming the car’s supplies will help on the trail.
Plan meals before packing the kitchen
Write a short menu for each meal and check what it requires. A simple breakfast, lunch, and dinner plan reveals whether you need a stove, pot, cutting board, opener, cooler, or extra water. Pack the equipment that supports the menu rather than every utensil available.
Make the first evening easy. A meal with minimal preparation leaves more time for setting up before dark. Keep an alternative that does not require cooking in case the intended equipment cannot be used.
Check fuel compatibility and stove instructions. Use cooking equipment only in the locations and conditions allowed by the manufacturer and campground. Do not cook inside a tent or move a stove into it because of rain. If conditions are unsuitable, use the no-cook option or change the plan.
Separate raw-food handling and clean eating equipment as appropriate. Use official food-safety guidance for storage and preparation. This guide is a packing plan, not a replacement for food-specific cooking temperatures or handling instructions.
Water and washing need their own space
Confirm drinking-water availability and bring an appropriate supply for travel and arrival. Carry bottles you can refill safely. If the site’s water is unavailable or subject to an advisory, follow the operator’s instructions rather than assuming a hiking filter resolves the problem.
List washing needs separately from drinking needs. Personal hygiene and kitchen cleanup can involve equipment and facilities that are not obvious from a campsite photograph. Read the rules for wash stations, wastewater, and disposal.
Bring manageable containers rather than one oversized vessel that nobody can lift comfortably. Think through how you will pour water without soaking other supplies. Inspect caps and keep records or electronics separate.
Outdoor water treatment depends on the source and hazards. Our filter-versus-purifier guide explains how to evaluate a system for a trip. Do not collect water merely because a stream looks clear or close to the tent.
Food storage follows local rules
Read the campground’s food-storage instructions before buying or packing containers. Requirements can apply to food, waste, toiletries, and other scented items. A cooler is not automatically an approved wildlife-resistant container.
The National Park Service guidance during a camping stay advises keeping a clean camp, not feeding wildlife, and keeping food out of the tent. Follow the specific park’s requirements for storage locations and equipment.
Make cleanup part of each meal rather than the final chore before bed. Give one person responsibility for checking that food and waste have been dealt with appropriately. Shared tasks are less reliable when everybody thinks somebody else finished them.
Pack rubbish out or use the designated facilities as instructed. Keep waste supplies accessible. A bag at the bottom of the car is not useful while food packaging spreads around the picnic area.
Lighting, hygiene, and personal essentials
A light belongs near each person who may need to move independently after dark. Test the controls and check the required batteries or charging arrangement. Do not rely entirely on a phone for all lighting and communication tasks.
Prepare a bathroom pouch with personal items and any supplies needed for the facilities provided. Read local rules where toilets or water are limited. Keep necessary medicines according to product-specific instructions and personal medical advice.
Use a small first-aid kit you understand and inspect it before travel. Training matters more than owning an impressive pouch. Add the supplies relevant to your household rather than claiming a generic kit covers every situation.
Store sun and insect protection where you will remember to use it according to the label. Seasonal and local conditions differ, so avoid choosing solely from another camper’s list. Keep these items with the day-use equipment instead of the bedding.
Load for the first hour at camp
Put shelter setup equipment where you can reach it first. Keep lights, coats, water, and the arrival meal accessible. Pack bedding protected from food leakage and wet equipment.
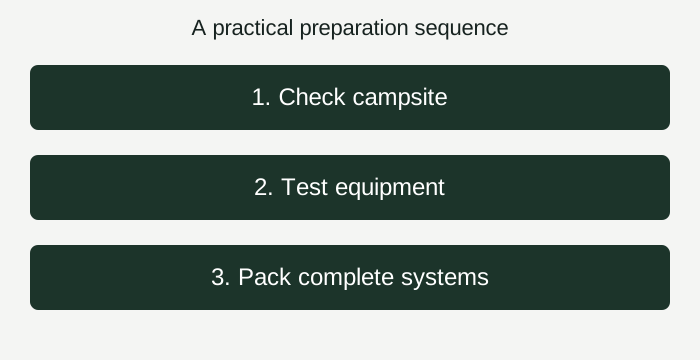
Use a written load list divided by container. For example: shelter bag, sleeping bags, kitchen box, cold food, personal clothing, and immediate-use pouch. This is easier to check than one long list of disconnected items.
Secure the load according to vehicle guidance. Do not let loose equipment interfere with controls or block the driver’s view. Consider weight and space limits when adding comforts; a car’s available volume is not an unlimited carrying capacity.
Before leaving, point to each complete system rather than ticking the list from memory. “Tent packed” should mean the tent, poles, fly, and stakes are in the car. “Kitchen ready” should mean the chosen meal can actually be prepared with what is present.
Share the tasks, not the assumptions
Assign a few roles before arrival. One person can handle shelter while another organizes the meal and water. A solo camper can use the same idea as a sequence: first shelter, then bedding, then kitchen, with immediate supplies already accessible.
For a family, keep children’s needs within reach during setup. A small familiar activity can help, but supervision still matters. Decide who is responsible rather than expecting everyone to help with equipment and watch children simultaneously.
If travelling with friends, agree on shared gear in writing. Two stoves and no pot is an easy result of a vague conversation. List who brings each shared item and verify it before departure.
Ask about food preferences, allergies, accessibility, and sleeping arrangements early. Practical planning is easier when nobody has to reveal an important need while standing at a dark campsite.
What you can leave at home
Leave specialist tools that have no role in your chosen trip. A large axe, multiple cookers, extensive power system, or elaborate furniture may be unnecessary for a short stay with confirmed facilities. Do not bring fire equipment merely because it appears in camping advertisements.
Avoid doubling every kitchen item. Choose utensils for the menu and group size. A simple shared pot may suit one trip; another may need a different setup. Let the plan decide.
Reduce clothing duplicates only after checking that you have suitable dry and weather layers. Minimal packing is useful when it removes unnecessary bulk, not when it removes needed protection.
Keep a small note of optional comforts you missed. You can add them later. Buying everything before one weekend gives you little chance to learn which items you actually use.
After the trip: dry, clean, and reset
Unpack promptly and follow each manufacturer’s cleaning and storage guidance. Do not leave damp shelter or bedding sealed simply because the car is finally empty. Separate items needing care or repair from those ready for the next trip.
Restock consumed supplies and record missing parts. If a piece was awkward to find, change its storage location or label. The packing list should improve after use rather than remain a generic document.
Use our camping gear storage guide for compact-home organization. Keep complete systems together and preserve the instructions you may need later.
A successful first camping trip gives you information: which meal was manageable, which light worked, which bag was too bulky, and what the group needs next time. Use that information before spending on upgrades.
Common beginner questions
Do I need expensive gear to start camping?
Not necessarily. Borrow or use suitable equipment where practical, inspect it, and make sure you know how to use it. Spend to close genuine gaps in shelter, sleep, weather protection, and the trip’s requirements, not to match a photograph.
Is this checklist suitable for backpacking?
No. Backpacking introduces different weight, access, route, and equipment constraints. This guide assumes you can reach a developed campsite by car. Use a trip-specific backpacking checklist and learn the relevant skills before heading farther from support.
Should I print the list?
A paper or locally saved copy makes the packing sequence available without a connection. Add quantities, owners, and container locations for your group. Print the checklist and campground instructions before departure, then revise the list after the trip.
Keep a local checklist
Download the plain-text checklist and print or save the relevant official instructions before you need them. Review this guide for the conditions behind each item.
Download all 11 free planning checklists (ZIP). No sign-up required. Complete and print the sheets locally; read each guide for safety context.