DIY / FIELD GUIDE
Camping Gear Storage for Small Spaces: An Organization System
Organize outdoor equipment by function without building a new storage system.
Part of our beginner preparedness guide. Choose a starting task or continue with this topic.
By Ready & Resourceful · Published 7 October 2026 · Research-based guide; no product testing claimed.
Quick answer
Organize equipment around the trips you actually take, keep related components together, and separate ready equipment from items needing care or repair. Measure available storage and follow each manufacturer’s care instructions before choosing containers.
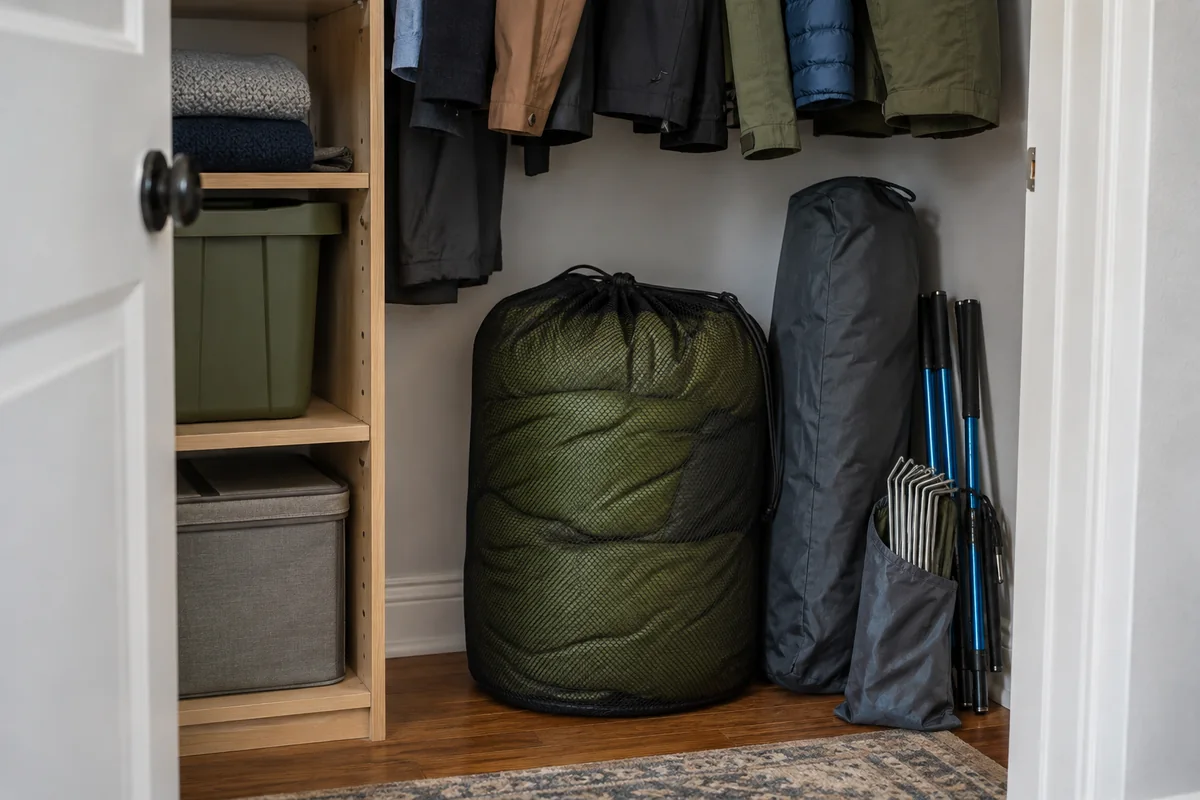
Packing for a trip gets frustrating when the stove is in one place, the matching parts are somewhere else, and a damp tent is waiting in a bag from last weekend. A useful camping gear storage system makes those loose ends visible. Start with the equipment for your next outing, then give each item a location and an honest readiness label.
Start with the next trip
Choose one type of outing you actually do. Place the equipment for that outing together and compare it with your packing list. Set aside broken items and incomplete sets. If an item needs repair, keep it identifiable rather than returning it to the ready pile.
Sort by function
Try separate groups for shelter, sleep equipment, lighting, cooking equipment and small accessories. These are suggested labels, not a mandatory layout. A household with one small tent may prefer a single box; a shared kit may need a separate container for each person’s equipment.
Keep small parts with the equipment they belong to. Label compatible cables and replacement components clearly. Do not transfer batteries, fuels or chemicals into containers that conflict with their manufacturer’s instructions. Read the storage guidance for tents, sleep equipment and electronics before choosing a sealed bin.
Measure before buying storage
Check the container dimensions, cupboard opening and space needed to pull the container out. Consider who will lift it. A box that fits perfectly but becomes too heavy to move is not a practical improvement. Check load limits before placing equipment on furniture or an existing shelf.
Make three clearly separated states
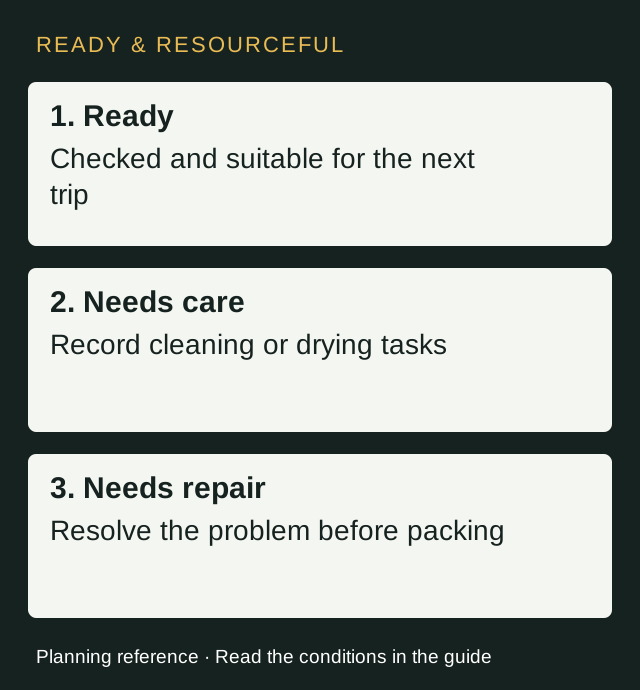
Use simple labels: ready, needs cleaning, and needs repair. Assign each item honestly when returning from a trip. Keep the actual cleaning and drying procedure consistent with the manufacturer’s instructions. Do not hide a damp or damaged item in the ready group.
If an item has been repaired, verify the repair through the appropriate instructions before changing its status. Do not rely on an improvised fix for equipment whose failure could create a serious hazard.
Keep a location sheet
Record where each group lives and which components should be together. Add review dates for consumables or equipment that has a specified replacement schedule. Back up the website inventory, and keep a paper packing list available if you may not have a working device.
Try a packing rehearsal
Use the location sheet to assemble your kit in daylight. Note the equipment you cannot find, labels that do not help, and boxes you must empty completely. Adjust the layout before adding new storage furniture. The goal is a repeatable packing process, not simply a tidy photograph.
For day hikes, use the linked checklist to identify essential systems. Match your storage layout to your own trips instead of treating a camping inventory as a universal survival kit.
Suggested ready / care / repair system
| State | Use the label when | Next action |
|---|---|---|
| Ready | Checked equipment is suitable to pack | Match it to the next trip’s list |
| Needs care | Equipment needs its specified cleaning or drying | Follow manufacturer instructions |
| Needs repair | An item is damaged or incomplete | Identify appropriate repair or replacement; do not assume it is safe |
Suggested planning format. Examples describe a proposed arrangement, not a completed or tested project.
Planning example: use a labeled location sheet to find shelter equipment, lighting and small accessories. Keep components with the relevant item, while respecting any separate battery or fuel storage instructions. The example is organizational, not a tested storage installation.
Sleeping bags and tents need different storage decisions
A compact transport bag is not automatically the right home-storage container. REI advises storing sleeping bags dry and loosely rather than compressed for extended periods. [REI sleeping-bag care]
REI’s tent-care guide recommends thorough drying before storage and a loose arrangement in a cool, dry location. Check the instructions for your actual tent, including its materials and coatings. [REI tent care]
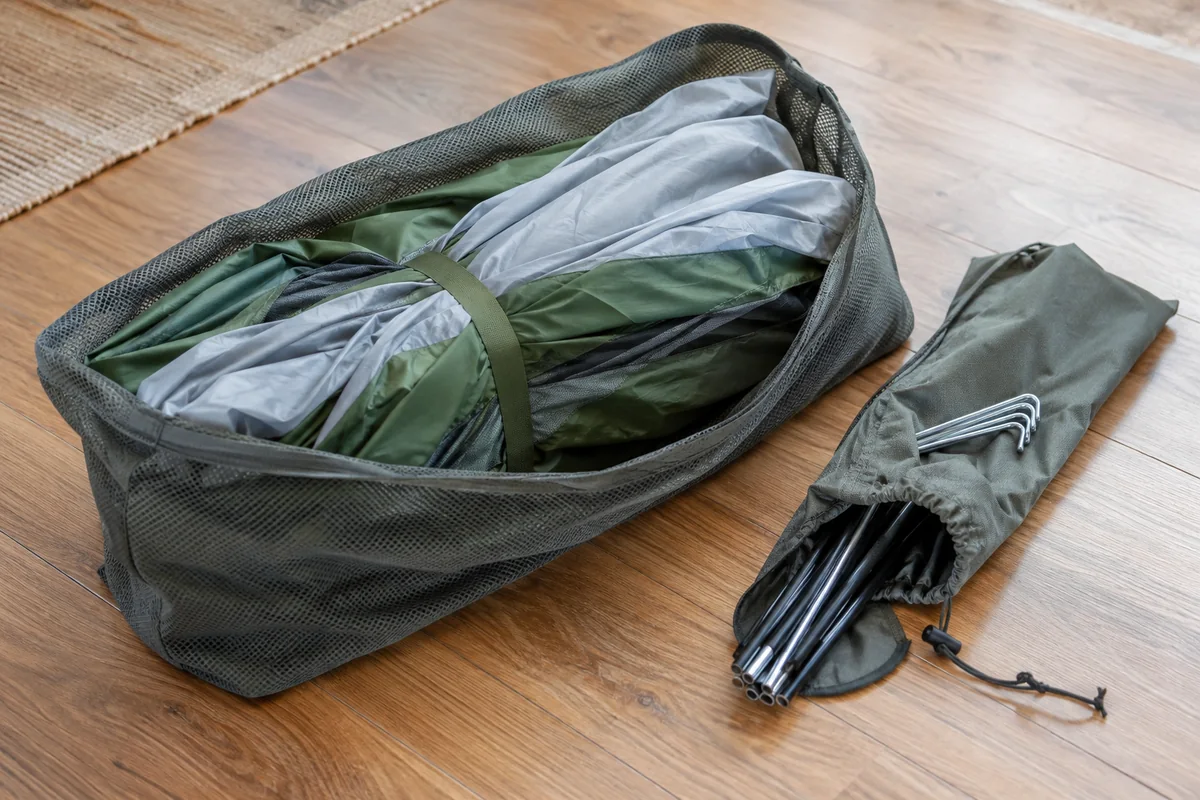
That distinction affects small-space planning. Before filling one sealed bin with everything, list any equipment that needs a different arrangement. Store poles, stakes and other components where the location sheet can connect them to the correct tent, even if the fabric is stored separately.
A small-apartment gear location sheet
| Group | Suggested record | Question to resolve |
|---|---|---|
| Shelter | Tent fabric location; matching poles and stakes location | Is the equipment dry, complete and stored as instructed? |
| Sleep | Sleeping bag location; pad location | Do their specific care instructions allow this arrangement? |
| Small accessories | Named pouch and actual contents | Are the parts compatible with the equipment on the next trip? |
| Items awaiting work | Item, task and person responsible | What must happen before it can return to ready status? |
These are suggested record fields, not a universal bin layout. A person with a single kit may need only one sheet. A household sharing equipment should also note when an item has been borrowed, so it is not counted as available.
Make the return from a trip part of the system
Leave a blank task line on the location sheet before departure. When you return, note what needs attention before equipment goes back into storage. “Tent needs drying” is a specific task; “sort gear later” is easy to overlook. Keep items awaiting care distinct from those ready to pack.
For repairs, write down the problem rather than hiding it behind a ready label. Check the relevant manufacturer instructions or appropriate repair service. Once the task is complete, review the equipment before changing its status. The organization system helps you remember the work; it cannot certify a repair.
At the next packing rehearsal, assemble gear from the location sheet and compare it with your trip list. Update anything missing. If you are preparing for a hike rather than a camp, use the day-hike packing guide instead of assuming both activities need the same kit.
Common planning mistakes
- Putting damaged equipment back in the ready group.
- Buying bins without measuring the cupboard opening.
- Treating a camping inventory as a complete kit for every outdoor activity.
Your action checklist
- Choose the next type of trip to plan for.
- Group the relevant equipment by function.
- Identify damaged or incomplete items.
- Read actual care and storage instructions.
- Measure openings, containers and handling space.
- Label ready, needs care and needs repair states.
- Create a location record.
- Rehearse packing from the record.
Download the plain-text checklist
The download includes the guide link and references. Keep a local or paper copy if you may be without internet access.
Questions about this guide
Should all camping gear go in sealed plastic boxes?
Not automatically. Check care and storage instructions for the actual equipment. Container choice must fit those requirements, not merely the available space.
Can I rely on an improvised repair for critical equipment?
Do not assume a repair is suitable. Use the relevant manufacturer instructions or qualified help, especially where equipment failure could create a serious hazard.
This guide contains organizational suggestions, not a tested construction design. Follow your equipment manufacturer’s care and storage instructions.