DIY / FIELD GUIDE
Emergency Supply Storage Ideas for Small Spaces
Create a labeled supply station with existing containers and a simple location record.
Part of our beginner preparedness guide. Choose a starting task or continue with this topic.
By Ready & Resourceful · Published 7 October 2026 · Research-based guide; no product testing claimed.
Quick answer
Group supplies by purpose, give urgently needed items an accessible location, and label each container with its real contents and review date. Use existing containers first, keeping exits clear and respecting storage instructions and load limits.
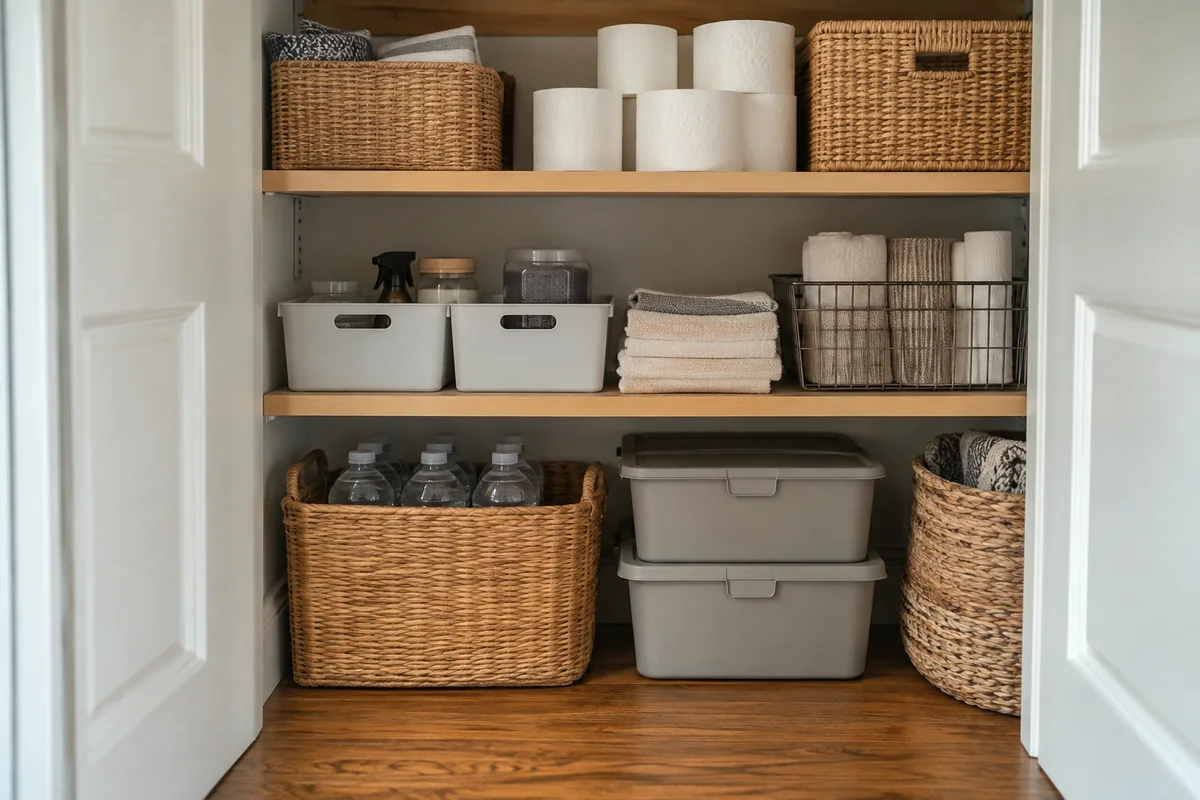
You do not need a spare room to make your supplies easier to find. You need a clear answer to “where is it?” A flashlight hidden behind unrelated belongings is still hard to use when you need it. This small-space project gives your existing supplies a home without turning every cupboard into an emergency cupboard.
Materials
- Suitable existing boxes, baskets or storage pouches.
- Paper labels and a marker.
- A tape measure and a sheet for your location record.
- Your supply list and product storage instructions.
Step 1: Sort before you store
Lay out the equipment in daylight. Separate lighting, charging, personal supplies and documents. Identify incomplete combinations: a flashlight without its correct batteries, a charger without its cable, or a container without a lid. Write these gaps down before shopping.
Do not move chemicals or fuels into unmarked household containers. Keep products identifiable and follow their own storage instructions. Food and drinking-water storage need appropriate containers and conditions, rather than merely an available gap in a cupboard.
Step 2: Give urgent items an easy location
Choose a place where a household member can find the light and contact sheet quickly. Put less frequently used items elsewhere if needed. Avoid blocking doors or access to utility equipment. For heavy containers, check the supporting furniture’s limit and choose a position you can reach without unsafe lifting.
Step 3: Use labels with a purpose
A useful label answers “what is here?” and “when should I check it?” Instead of “miscellaneous,” use a description such as “lighting: two flashlights and spare batteries.” For paper documents, a discreet label can protect privacy while still helping household members locate them.
If the contents change, update the label. A neat label that describes last year’s supplies is less useful than a plain, accurate one. Keep a separate shopping list for missing items so the storage label remains a record of what is actually present.
Step 4: Create a location record
Use one line per container: contents, location, review date and any handling note. Keep a paper copy where household members can find it. You can also enter quantities in the website tracker. The tracker is device-local and should not be your only emergency copy.
Step 5: Test the arrangement
Ask another household member to find an item using only the label and record. Do this in daylight without disabling safety systems. Notice which descriptions are unclear and which boxes are awkward to remove. Adjust the arrangement, then check that all routes through the room remain clear.
Water needs a separate check
CDC advises keeping stored drinking water away from direct sunlight and toxic substances. See our water-storage guide for quantities, container selection and rotation. The organization project does not replace those requirements. [CDC guidance]
Suggested supply-station layout
| Group | Suggested organization | Before storing |
|---|---|---|
| Lighting | Accessible labeled container | Test lights and identify compatible batteries |
| Charging | Pouch with matching devices and cables | Check compatibility and instructions |
| Documents | Discreet, accessible folder | Decide who needs access and protect private information |
| Water / food | Separate suitable storage | Check their specific storage requirements |
Suggested planning format. Examples describe a proposed arrangement, not a completed or tested project.
Planning example: reserve one small accessible drawer for lighting and contacts, with bulkier supplies in a separately recorded location. The drawer is an access point, not a claim that the whole household reserve fits inside it.
Two layouts for emergency supplies in a small apartment
Choose the arrangement that fits your existing furniture. These are proposed organization patterns, not measured installations. Check actual openings, product storage instructions and furniture limits before putting anything in place.
| Layout | Suggested arrangement | Tradeoff |
|---|---|---|
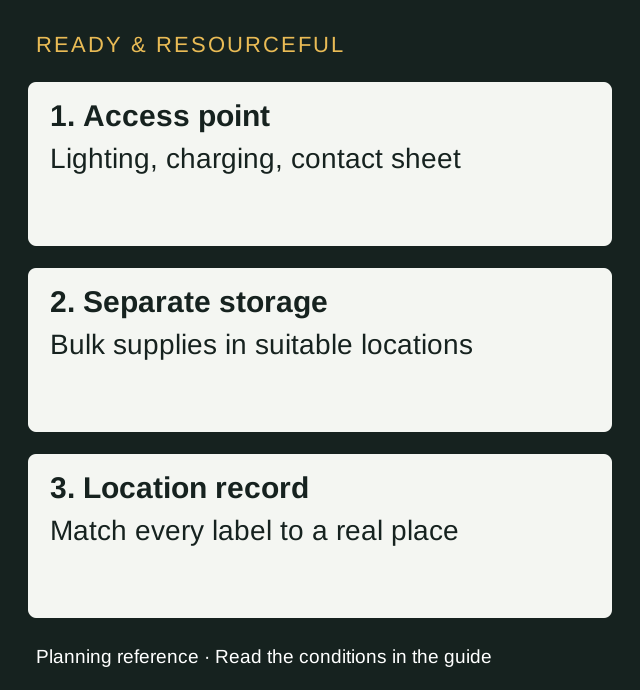
| One access point | A reachable drawer or basket for lighting, charging and the contact sheet; bulk supplies stored separately. | Easy to explain, but the access point does not hold the entire reserve. |
| Two recorded locations | One reachable container for immediate items, another suitable location for less frequently used supplies. | Uses scattered space, but requires an accurate location record. |
For the first layout, put a note in the drawer naming the other locations. For the second, give each container a plain identifier such as A or B and put that same identifier on the paper record. Avoid a scheme that only the organizer understands.
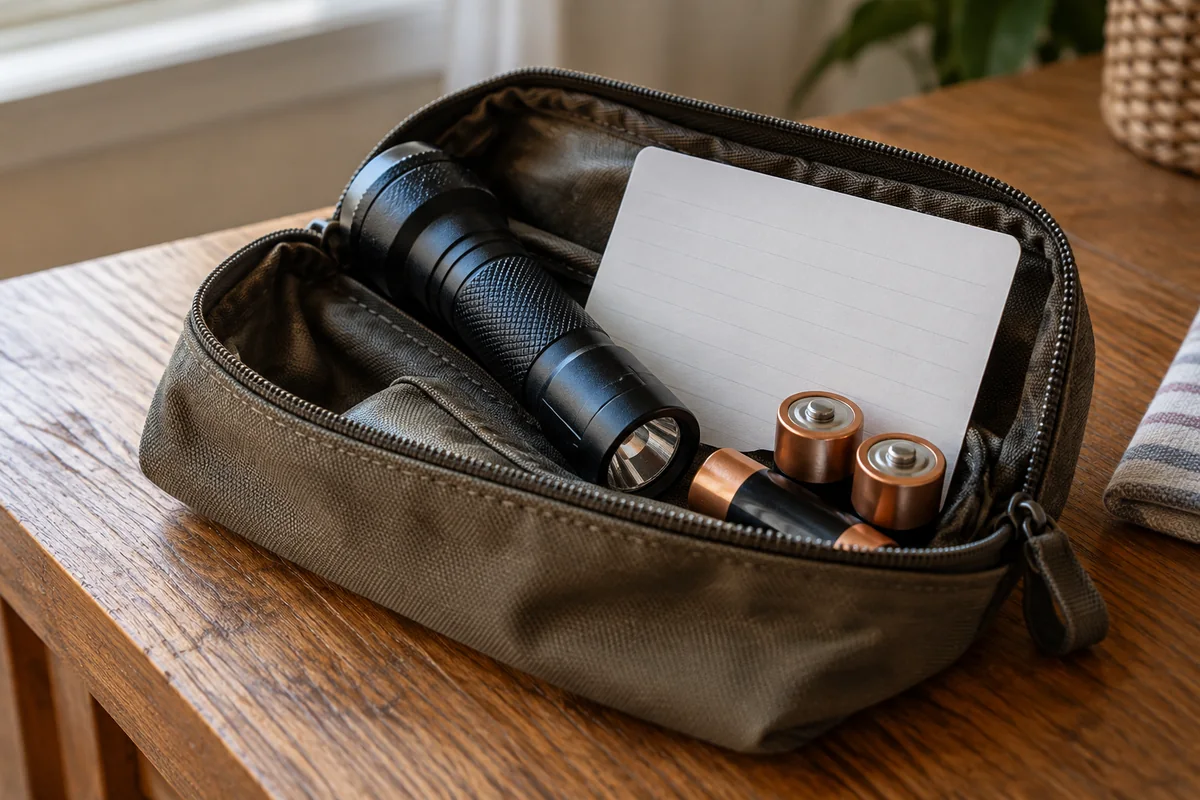
Measure access, not just the empty space
Write down the cupboard opening, the proposed container size and the room needed to take it out. Check whether the door opens fully when nearby furniture is in use. A container can fit inside a cupboard and still be awkward to remove.
Try the arrangement with an empty existing container first. Notice whether another box has to be moved before you can reach it. Use that observation to decide which items belong there. Do not assign a load capacity to a shelf or drawer unless its documentation provides one; a sketch of a layout cannot establish that it will carry a water reserve.
A label and inventory you can actually maintain
Suggested label: “A — lighting — flashlight, headlamp, matching batteries — checked [date].” Suggested record: “A — entry cupboard — lighting — next review [date].” Enter the real contents rather than copying the example. Use discreet descriptions for private documents.
Keep the shopping list separate. If the flashlight has no batteries, record the missing component as a task rather than counting a complete lighting kit. After borrowing or replacing an item, update the container label and inventory together. The supply tracker can hold quantities, but a paper location sheet helps household members use the system without your device.
Finish with a retrieval check in daylight. Ask someone to find a named item without hints. If they choose the wrong box, improve the label. If they cannot remove the right box comfortably, change the location. This is a practical organization check, not a simulated emergency.
Common planning mistakes
- Using a “miscellaneous” label that hides what is inside.
- Storing supplies in an exit route because the space is unused.
- Labeling intended purchases as though they are already present.
Your action checklist
- Sort supplies by function.
- List missing components separately.
- Measure candidate storage spaces.
- Keep access routes clear.
- Check product instructions and furniture load limits.
- Label actual contents and review dates.
- Test retrieval with another household member.
Download the plain-text checklist
The download includes the guide link and references. Keep a local or paper copy if you may be without internet access.
Questions about this guide
Should I buy storage boxes before sorting?
Sort and measure first. Existing containers may be sufficient. Purchase only after identifying the size and storage conditions required.
Does this project require wall-mounted shelves?
No. It is an organization project using suitable existing storage. Wall installation and load-bearing construction require appropriate design and expertise.