
Quick answer
A winter emergency car kit should help you stay warm, communicate, remain visible, and manage basic needs if a journey is interrupted. Pack spare layers, blankets, drinking water, suitable snacks, a flashlight, phone charging equipment, a first-aid kit, and the vehicle tools you know how to use. Add an ice scraper, snow brush, and other winter equipment appropriate to your vehicle and route. Keep essential items reachable from the passenger compartment.
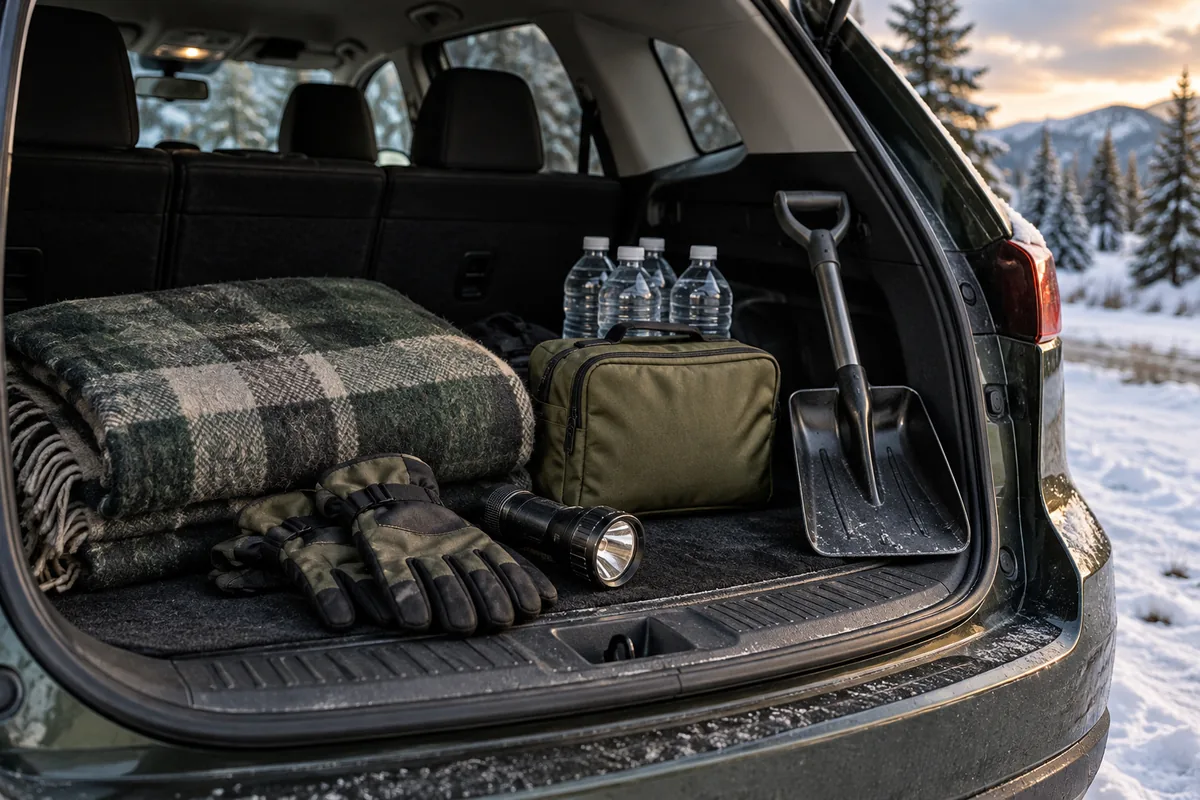
The point is not to turn your trunk into a mobile workshop. It is to avoid discovering, in poor weather, that your only coat is at home and the charging cable does not fit your phone. A kit does not make a closed road safe, replace vehicle maintenance, or justify travelling against official advice. Start by deciding whether the trip should happen at all.
First check the trip, then the supplies
Review the forecast and road conditions for the whole journey, not just the street outside your home. A clear starting point says little about a higher pass, exposed rural section, or destination after dark. Use the relevant state transportation department and National Weather Service information.
Tell someone your route and expected arrival. Include any planned stops and a practical check-in arrangement. If the route changes, send the update before entering an area where communication may be difficult. Do not send messages while driving.
Ask whether the journey can be delayed. Moving an appointment or leaving earlier in better conditions may remove more risk than adding another bag of equipment. Keep the kit for interruptions you cannot fully prevent, not as encouragement to test a severe forecast.
Check roadside-assistance details while online. Save the number and account information on paper as well as your phone. Confirm what service covers your vehicle and region; do not assume all assistance plans handle every winter situation.
A practical winter car kit checklist
The National Weather Service winter survival checklist provides a useful starting reference. Adapt your supplies to the number of occupants, duration, medical needs, and available space.
- Warm coats or spare insulating layers for each person.
- Hats, gloves, dry socks, and weather-appropriate footwear.
- Blankets or suitable sleeping bags.
- Drinking water protected from leakage and regularly checked.
- Familiar snacks that can be eaten without cooking.
- Flashlight or headlamp with the necessary power supply.
- Charged phone, correct cable, vehicle charger, and a charged power bank.
- Written emergency contacts and roadside-assistance information.
- First-aid kit, personal medication plan, and essential health information.
- Ice scraper, snow brush, and suitable gloves for clearing the vehicle.
- Reflective equipment or warning devices suitable for the vehicle and local requirements.
- Vehicle-specific basic tools or recovery equipment only where you have the knowledge to use them.
- Hygiene supplies, waste bags, and items for children or pets travelling with you.
This is a selection framework, not a universal equipment specification. Check your owner’s manual before purchasing vehicle accessories. A tool that does not fit the car, or requires skills you do not have, may add bulk without solving a problem.
Build warmth around each passenger
Count people, not bags. One blanket in a family car may be easy to photograph but does not address everyone’s needs. Put a warm layer or blanket against each occupant on the packing list, and consider what they would be wearing on a routine school or work journey.
Keep dry clothing protected inside a separate pouch. A spare layer stored loose beside a wet snow brush can be present and still be unusable. Label children’s clothing by size and review it as they grow. Include footwear when someone normally travels in indoor shoes.
Try using the blanket while seated. Can the person reach it without standing outside? Is the package sealed so tightly that opening it requires a tool? These small details are worth fixing at home.
Do not depend entirely on the vehicle’s heating system. For a stranded vehicle, follow official guidance specific to the situation. The National Weather Service advice for being caught in a winter storm addresses staying with the vehicle and exhaust-related precautions. A blanket helps with comfort and warmth; it does not remove the need for rescue or a safer location when conditions become dangerous.
Water and snacks need a review routine
Choose containers that are manageable inside the car and inspect them regularly. Vehicle temperatures can vary substantially, so follow storage guidance for the items you choose. Check for freezing, leakage, and packaging damage rather than assuming the trunk is a stable pantry.
Use snacks you can open while wearing gloves and eat without preparation. Consider allergies, dietary restrictions, and the people actually travelling. Pack a small waste bag alongside food so wrappers do not spread across the cabin.
Treat the kit as a supplement to the journey’s ordinary supplies. Bring fresh drinking water for the trip when practical, and verify the stored reserve before leaving. Avoid counting an unidentified half-empty bottle under a seat as part of your preparedness plan.
Do not rely on cooking as the solution to a roadside wait. Indoor use of combustion equipment creates hazards. Keep this kit focused on ready-to-use food and safe shelter arrangements, with no candle heater or camping stove plan inside the vehicle.
Communication: make the connections work
Connect your phone to the packed cable and charger before storing them. Confirm they work with the actual device, not merely that the connectors look similar. Family members may need different cables or an agreed shared charging setup.
Charge the power bank and learn how its controls work. Keep it according to the manufacturer’s temperature and storage instructions. If it should be brought indoors between trips, put it on the departure list rather than pretending it will always be waiting in the car.
Save important numbers in a short contact sheet. Include a household contact, roadside assistance, and any essential medical or care contact. Local emergency services are the appropriate choice for immediate danger; routine assistance arrangements are not a substitute.
A location description is more helpful when it is specific. Notice road names, exits, direction of travel, and landmarks during the journey. If you stop safely, use the information available to describe your position without wandering into traffic to read a distant sign.
Lighting and visibility without extra confusion
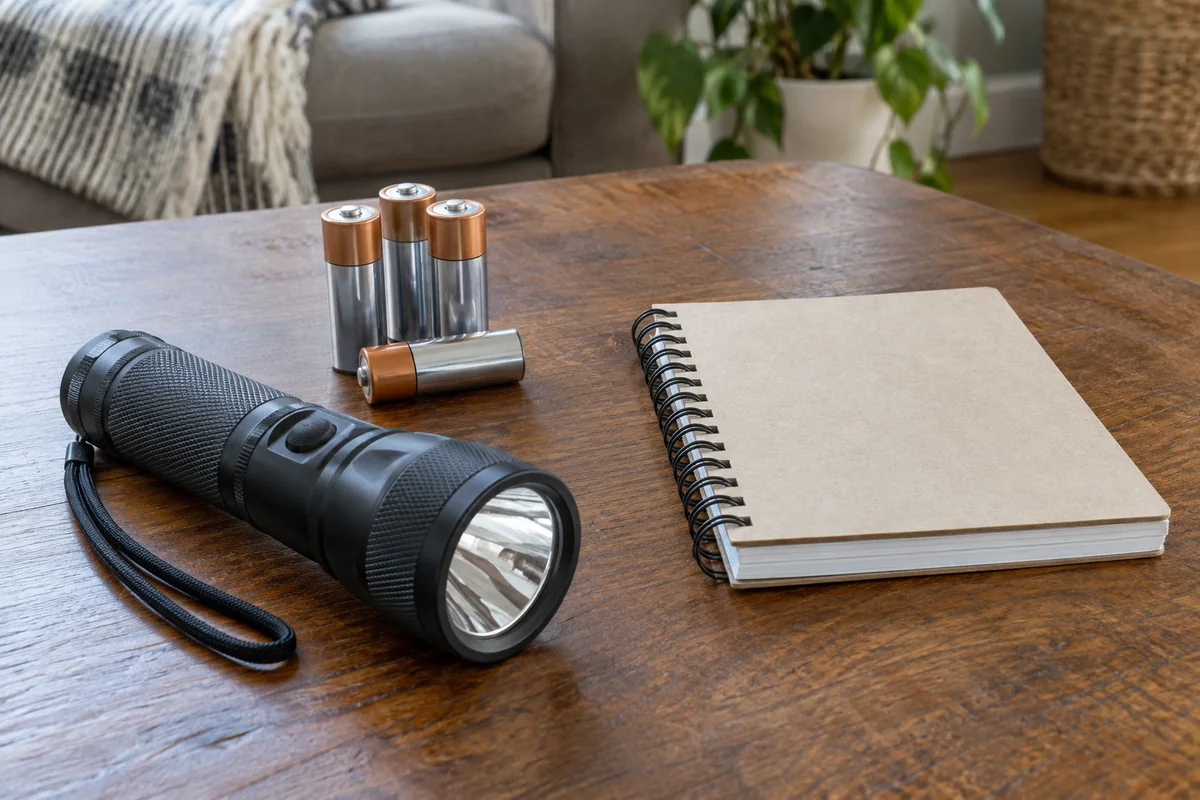
Pack a flashlight where you can reach it while seated. Test the switch and power supply, and keep any required spare batteries with it. A hands-free headlamp can be convenient when handling supplies, but use equipment according to its instructions.
Make warning equipment part of your vehicle-specific preparation. Know where the hazard-light control is and read local road-safety guidance for warning devices. Do not assume it is safe to stand outside the vehicle in poor visibility or beside fast traffic.
Reflective clothing can be kept near the front rather than buried below luggage. Accessibility matters more than appearance. A high-visibility item under several heavy bags will not help you at the moment you need it.
Do not use an ordinary roadside stop as a reason to attempt repairs beyond your ability. Remaining protected and communicating the problem may be the better course. Weather, traffic, visibility, and the vehicle’s position determine what is safe; a generic checklist cannot decide those conditions for you.
Tools should match the vehicle and your skills
An ice scraper and snow brush are straightforward additions, but choose ones you can actually grip and store. Keep working gloves nearby so routine clearing does not require unpacking the clothing reserve. Remove snow and ice as advised by relevant road authorities before travelling.
If you pack a jump starter, confirm compatibility and read both its instructions and your owner’s manual. Different vehicles have different procedures. Practice locating the specified connections in safe conditions, without improvising electrical work.
A shovel or traction aid may suit some routes and vehicles. Consider its usefulness, storage, and the situations you are competent to manage. Equipment does not make attempting recovery in traffic or dangerous weather a sensible choice.
Keep ordinary maintenance separate from emergency improvisation. Tyres, fluid specifications, battery condition, lighting, and other vehicle checks belong in a planned service routine. Ask a qualified service provider when you are unsure. The kit should not become a substitute for addressing a known mechanical problem.
Pack in two accessible zones
Use a small cabin pouch for immediate needs: light, contacts, charging cable, essential health information, and a manageable snack. Store it securely so it does not interfere with driving controls or become a loose object. Follow vehicle instructions for storage and occupant safety.
Keep larger warmth and equipment items in a secured rear storage area. Place the items you are most likely to need near the accessible side. Avoid loading luggage on top of every blanket and then treating the kit as available.
Check whether the trunk can be accessed from inside the passenger compartment. If it cannot, that strengthens the case for keeping immediate essentials inside. Do not depend on a feature you have never tried.
Keep wet equipment separate from dry supplies. A simple container for the snow brush and working gloves makes it easier to protect spare clothes. Label storage clearly enough that a passenger can find the correct pouch without asking the driver to search while moving.
Children, pets, and medical needs
Think through a delayed school run or family visit, not only a major road trip. Include suitable child supplies, necessary comfort items, and a realistic plan for toileting or hygiene during an unexpected wait. Avoid distracting clutter around restraints or seating.
Bring medicines and devices according to individual instructions. Ask a pharmacist or clinician how temperature and travel affect the products involved. A glove compartment is not automatically appropriate medical storage. Put daily-use items on the departure checklist.
For pets, include a restraint or carrier arrangement, water, food where appropriate, and any required daily supplies. Check that the equipment fits the animal and the vehicle. Keep pet supplies separate enough to locate them without unloading passenger essentials.
Talk about assistance needs before travelling. Who helps a person reach clothing? Who communicates if the driver cannot? A short conversation can reveal gaps that another purchase would not fix.
What to do if you become stranded
Follow emergency instructions and assess immediate dangers such as traffic, injury, fire, or severe exposure. The National Weather Service generally advises staying with the vehicle during a winter storm rather than walking away into poor visibility. Conditions can differ; contact emergency services when needed and follow their directions.
Be especially cautious about carbon monoxide. The CDC winter-storm guidance warns that blocked exhaust can create a poisoning risk. Do not regard a running engine or open window as proof that the situation is safe.
Use your location information to explain where you are and who is with you. Tell the contact whether anyone has urgent medical needs. Keep the phone available for incoming instructions and updates.
The kit supports waiting and communication. It is not a recovery manual, a medical treatment guide, or permission to stay indefinitely in dangerous conditions. Keep official instructions and the actual circumstances ahead of any generic packing advice.
Review before the cold season and longer trips
Set a review date that you will notice. Check clothing fit, light function, battery charge, contact details, food packaging, water containers, and the condition of tools. Review again when passengers or routes change.
Replace borrowed supplies promptly. If you use the charger on an ordinary drive and take it inside, leave a reminder where it normally belongs. The phrase “I usually have one” is not the same as checking that it is present.
For a longer trip, add a route-specific departure list: current weather, road closures, destination contact, fuel or charging plan, and ordinary travel supplies. Vehicle range and charging requirements depend on the car and conditions; consult its guidance rather than applying a universal rule.
Use the return home as a reset point. Dry wet items, check anything consumed, and note what was awkward to find. A kit that improves after routine use is easier to maintain than one that remains untouched and forgotten for years.
A ten-minute check before leaving
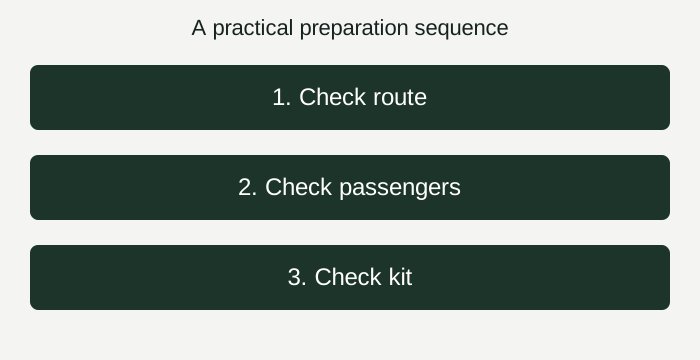
Ask each traveller to identify their warm layer and confirm any daily essentials. Verify phone power and the correct cable. Make sure the cabin pouch is reachable and larger supplies are secured. Check the route information and share the expected arrival.
This rehearsal exposes ordinary mistakes: a child’s coat no longer fits, a power bank is empty, the blanket is beneath luggage, or the assistance number is outdated. Correcting those problems is practical preparation.
For the rest of your household plan, see our go bag checklist and apartment outage guide. Keep the vehicle kit distinct so a household packing session does not quietly remove everything the car needs.
Common questions
Can I leave the kit in the car all winter?
Leave only items whose storage instructions suit the conditions. Review temperature-sensitive food, batteries, medicines, and water containers individually. Keep a departure list for anything that must be brought from indoors.
Is a shop-bought roadside kit enough?
Inspect it against your vehicle, route, and passengers. Many kits focus on tools or warning equipment and do not include suitable warmth, personal medicines, working chargers, or household contacts. Fill the actual gaps rather than buying a second overlapping kit.
Keep a local checklist
Download the plain-text checklist and print or save the relevant official instructions before you need them. Review this guide for the conditions behind each item.
Download all 11 free planning checklists (ZIP). No sign-up required. Complete and print the sheets locally; read each guide for safety context.